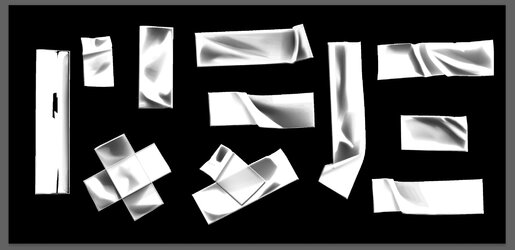
Hi
@Alexandria
It took a bit of work yet I created an equivalent PNG file for this set of clear tapes. It is also at a higher resolution.
I started from a free vector file online that parallels exactly the PSD file you have (many hundreds of Layers including a multitude of blend modes used)
Neither the vector file nor the PSD file could be directly converted and saved as a PNG to use on its own.
The PNG file I created was derived from two output cases when using two different backgrounds with the more complex files to create the single PNG with transparency file.
Since I used those other files as a starting point, I am providing the required attribution link in each of the files images provided.
An more detailed explanation is provided at the end of this post yet here are the results:
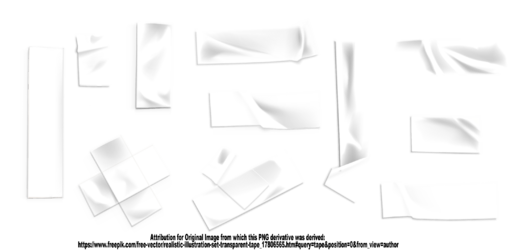
First here is the PNG file (it won't look transparent yet just save this file for the PNG version:
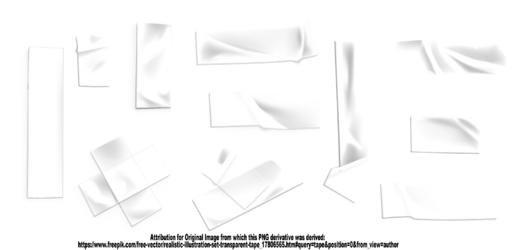
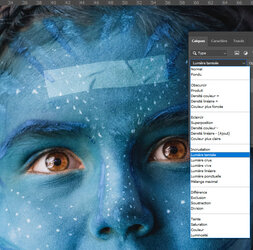
Here is a screen shot of how the PNG file will appear in Photoshop:
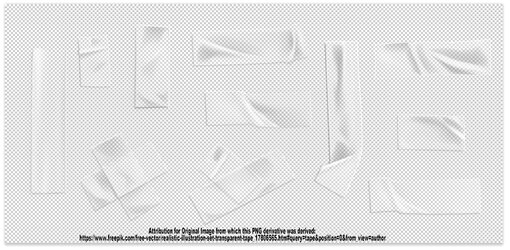
Here is a screenshot of the PNG file with a 50% gray background:
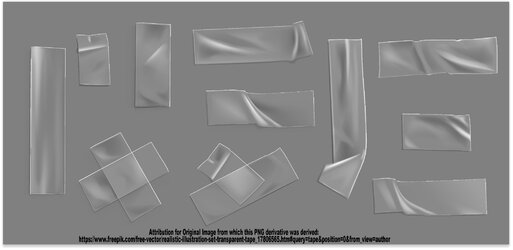
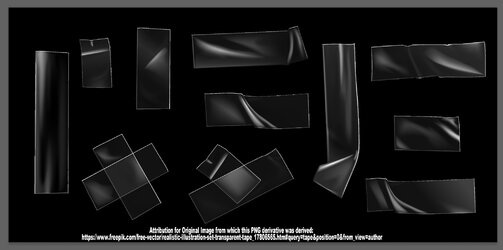
Here is the PNG file with a black background:
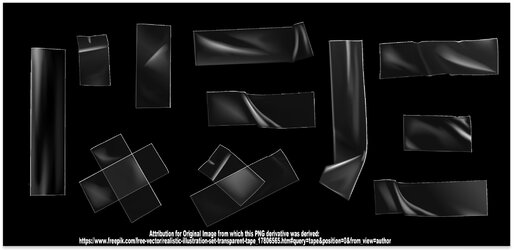
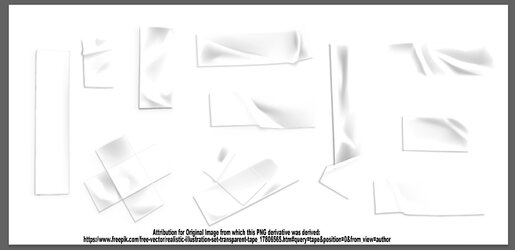
And here is screenshot with the PNG file and a White background

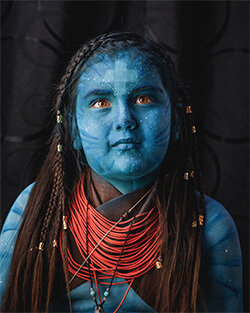
Here is a quick example of applying the tapes over an avatar:
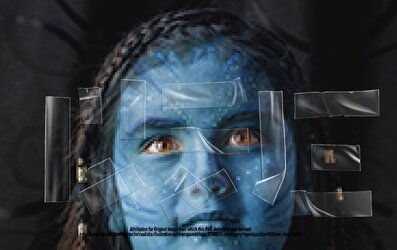
Hope that solves your problem for your project
@Alexandria. If you have more questions just ask.
John Wheeler
Now for those interested in the derivation of this PNG file, it was done using the output image from the original file with a black background I will call this R1 for Result 1 (same as an image above above) and also the output image using the original file with a white background which I will call R2 for Result 2 (same as an image above).
Now without going through a longer derivation of the equations:
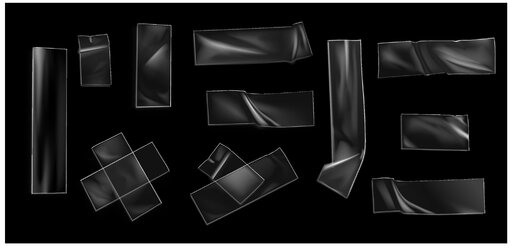
The equation for the Opacity which is Layer Mask (or Transparency in a PNG) is:
Opacity = 1 - R2 + R1 which is the same as Opacity = Inverse or R2 + R1
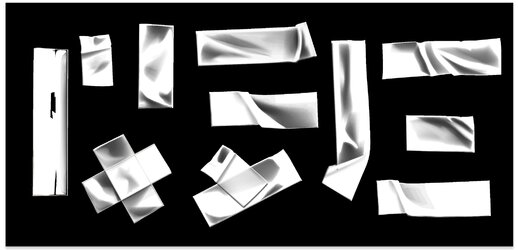
The equation for the pixel portion of the PNG is:
Pixel Values = R1 / Opacity
Following is the image for the Pixels values with Transparency removed from these equations:
And here is an image of the Layer Mask from the equations:
The above results were achieved using Layer Blending with Linear Dodge for addition and Blend mode Divide for division in the equations. Inverting an image was simply using CMD + I.
The hard part for me was deriving the equations that create the result and I am not including that here as that is even dryer than above

. Was a fun challenge for me thougt

FYI
John Wheeler
 or
or


 I just "flew over" your explanation since my brain no longer understands such complexity. If I maybe read it 349081902830145 times, it will sink in
