Alexandria
Well-Known Member
- Messages
- 114
- Likes
- 8
Welcome to Photoshop Gurus forum. Register a free account today to become a member! It's completely free. Once signed in, you'll enjoy an ad-free experience and be able to participate on this site by adding your own topics and posts, as well as connect with other members through your own private inbox!
My question would be, when you place the PNG on the avatar (in the game), is it always going to the same exact place that it was on the skin template in Photoshop? If so, there is a possible workaround.I drop them on to the skin template, delete the skin, save as .png, bring into game and place them on avatar.

YesMy question would be, when you place the PNG on the avatar (in the game), is it always going to the same exact place that it was on the skin template in Photoshop? If so, there is a possible workaround.
No, only .png, tga, jpeg and .daeSecond question, does the game platform support a multilayered file such as PSD or PSB (smart object)???
I understood that all very well, the only problem is: I CANNOT bring in the "blue skin" image, I can only bring in the "bandaid" hence png. The skin template I use is just a map to know where to place things like tattoos, bandaids, wounds etc. The avatars in the game already have their skins and what notHi @Alexandria
Here are the step by steps to help better understand how to put the transparent tape onto an image.
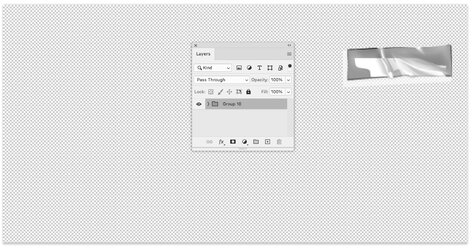
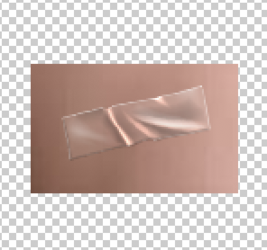
First, if I eliminate all Layers but the Group Ten Layer here is how it will appear on the screen:
View attachment 139374
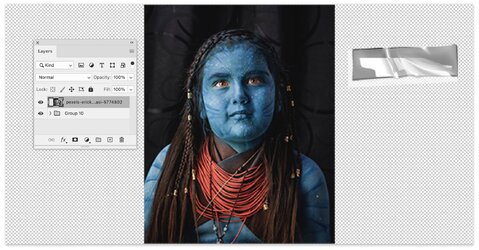
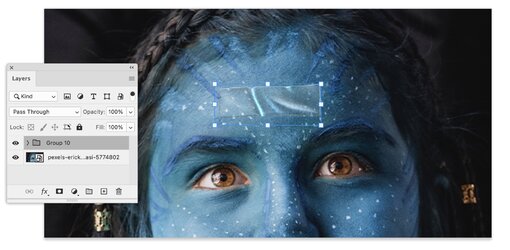
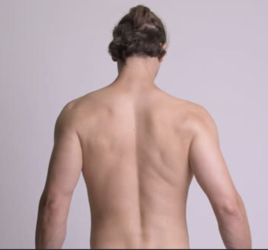
Now I am going to add the image or avatar onto the Layer Stack using File > Place Embedded (I chose an image online that similar to a character from the Avatar movie yet you can do this with any image. Initially the image is on the Layer above Group 10
View attachment 139375
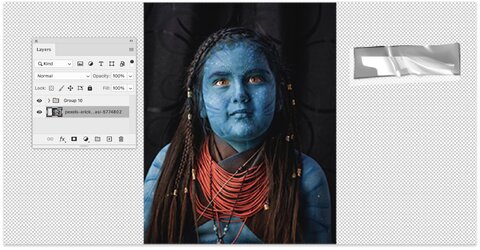
Then, on the Layer Panel, I click and drag the image Layer to be below the Group 10 Layer. This is the location for your image to make the Group 10 Layer work correctly.
View attachment 139376
At this point, I want to resize the avatar so I click on that Layer in the Layer Panel and use the keyboard shortcut Command + T on a Mac or Cntrl + T on a PC. This will bring up the click and drag points for resizing. While holding the Shift/Enter key, I click and drag any one of the control points to resize as desired. Sometimes you have to drag outside the image frame to make it the size you may want:
View attachment 139380
I accept the transformation (checkbox in the top panel)
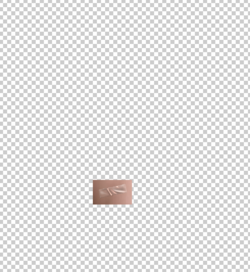
Now I select the Layers 10 Layer, use the Cmd+T keyboard shortcut to edit the location of the Layer Group 10, and click and drag it to the location I want. You can optionally also rotate or resize at this point yet I did not do that. If you want to maintain proportions of the "tape" just hold the Shift Key when transforming the Layer Group 10
View attachment 139378
Now I just accept the transformation by clicking on the checkmark in the menu bar.
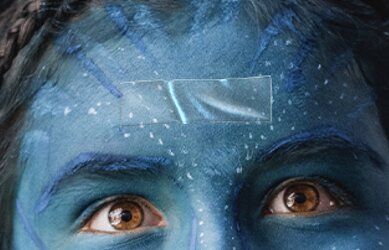
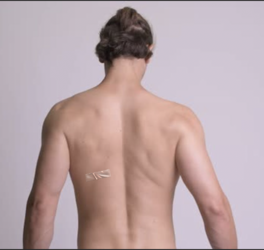
The final image is a zoomed in view of the avatar image on the bottom Layer and the Group 10 Layer above it:
View attachment 139379
At this point, you can save the image into any format you want and it will capture the transparent tape effect.
If there are any more questions just ask for clarification
John Wheeler
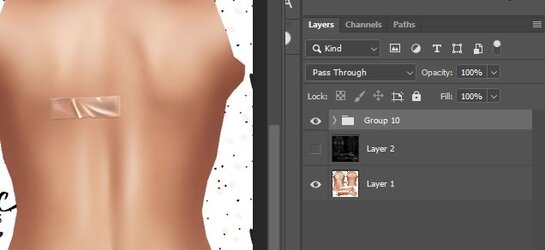
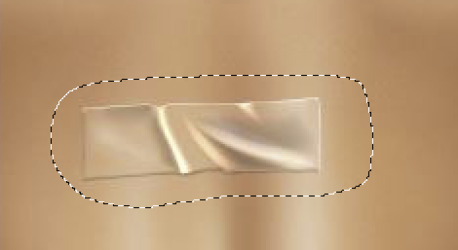
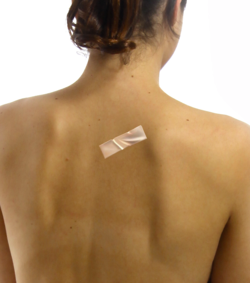
Yes.........this was my workaround as well.I made this selection from your image and carefully masked it so that no extra skin extends out beyond the edges of the band-aid.
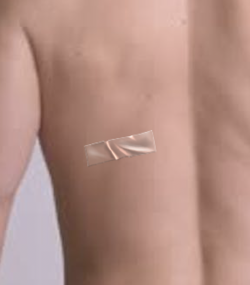
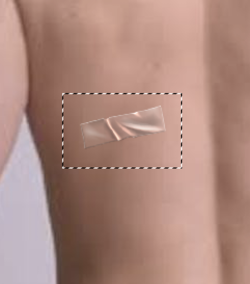
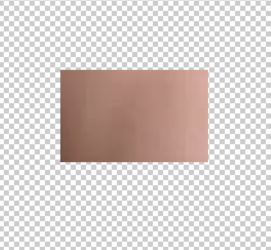
Hi @AlexandriaUnfortunately I cannot do it with the skin part underneath because 1. it has to go on 1000's different skin tones and 2. it has to be like a bandaid over blood and wounds and cutsAll those enhancements like wounds, blood, cuts, scratches, scrapes can be bought separately, hence this "option" would not work.
