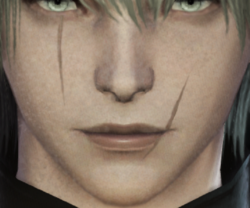
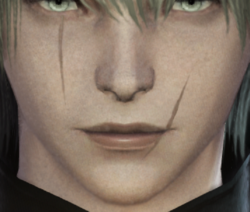
Photoshop Gurus Forum
Welcome to Photoshop Gurus forum. Register a free account today to become a member! It's completely free. Once signed in, you'll enjoy an ad-free experience and be able to participate on this site by adding your own topics and posts, as well as connect with other members through your own private inbox!
You are using an out of date browser. It may not display this or other websites correctly.
You should upgrade or use an alternative browser.
You should upgrade or use an alternative browser.
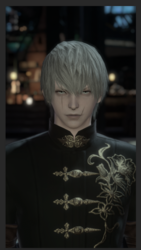
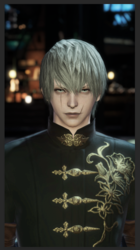
How were these images edited?
- Thread starter mightysugar
- Start date
mightysugar
Member
- Messages
- 20
- Likes
- 0
Oh so the realism comes from light and shadow. then what will be our next step? and "blending" is what I didn't expect as another answer :0I used a H&S layer for the uniforms hardware.
Before
View attachment 110550
After
View attachment 110551
You can go crazy with adjustments! What will help the realism will be in the shading and blending based on the light source.
- Messages
- 24,130
- Likes
- 13,708
mightysugar
Member
- Messages
- 20
- Likes
- 0
Did you
Did you brushed on a normal layer? Also, would you mind if you try the trick on the face? Thank you!OK..............just a quick example.
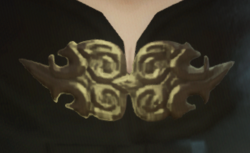
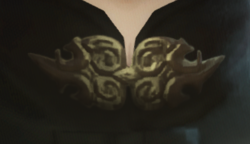
This part of the uniform brass looks fake.
View attachment 110552
Blur the edges with the Blur Tool...
View attachment 110553
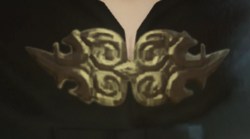
Then use the Brush Tool to add/enhance shading! This blends the brass much more naturally.
View attachment 110554
Before
View attachment 110555
After
View attachment 110556
Once all the brass has been blurred and shaded, it will look much more real!
- Messages
- 24,130
- Likes
- 13,708
Yes, a new layer. The blurring has to be on the main image. I duplicated that so if I messed up I would have the original.Did you brushed on a normal layer?
I don't have the time for that at the moment. But I will get to it. You will have to mask the face with the Pen Tool.Also, would you mind if you try the trick on the face?
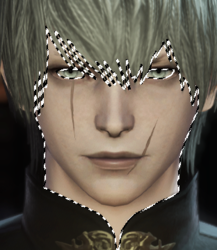
Here's the rest of the brass on the uniform except the filigree, will do that later.
Before
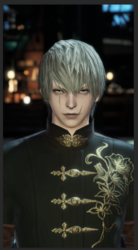
After (mind you, this was a quick example. You take your time!)
- Messages
- 24,130
- Likes
- 13,708
- Messages
- 24,130
- Likes
- 13,708
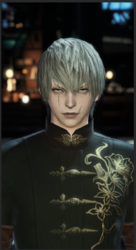
All of these were done quickly for demo. You take your time. All facial shading done with Brush Tool. Colors are sampled from image and adjusted to liking. Keep it subtle.
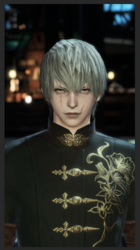
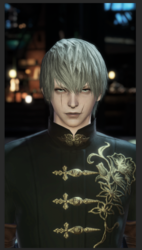
Original without texture or shading.
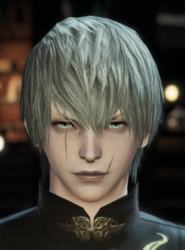
Facial shading 1 (Light)
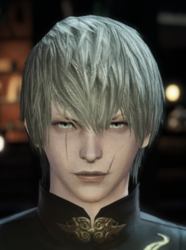
Facial shading 1 (Medium)
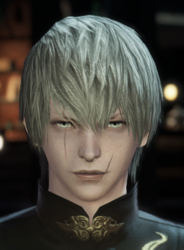
Facial shading 1 (Dark)
I have also noticed that my screenshots are not quite the same as it appears in Ps.
Original without texture or shading.

Facial shading 1 (Light)

Facial shading 1 (Medium)

Facial shading 1 (Dark)

I have also noticed that my screenshots are not quite the same as it appears in Ps.
mightysugar
Member
- Messages
- 20
- Likes
- 0
I especially like the chin part, it looks much more smoother and has more depth. Thank you for your detailed description, now I understand better!All of these were done quickly for demo. You take your time. All facial shading done with Brush Tool. Colors are sampled from image and adjusted to liking. Keep it subtle.
Original without texture or shading.
View attachment 110567
Facial shading 1 (Light)
View attachment 110564
Facial shading 1 (Medium)
View attachment 110565
Facial shading 1 (Dark)
View attachment 110566
I have also noticed that my screenshots are not quite the same as it appears in Ps.
about the skin texture brush, if you look into the 1st, 4th, and the last pictures, the skin texture looks much more like natural human pores. I've searched up for brushes on the internet and overlays but I couldn't find one. How do you think?
- Messages
- 24,130
- Likes
- 13,708
What type brushes are you searching for?I've searched up for brushes on the internet and overlays but I couldn't find one.
Photoshop Skin Texture Brushes
- Messages
- 24,130
- Likes
- 13,708
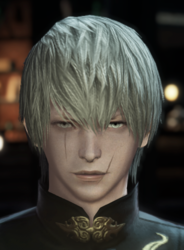
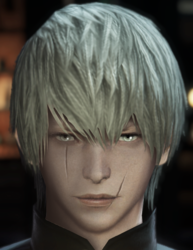
Some additional details. Again, done quickly for demo, you take your time!
Eye's before (Hair is the last thing we do, so it looks fake here)

Eye Highlighting

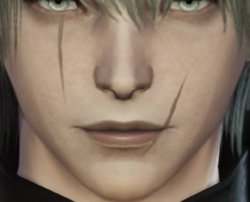
Scars and lips before
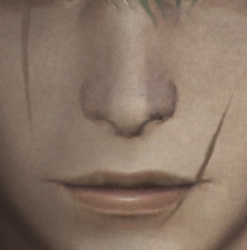
Scars and lips after some detail work and highlighting
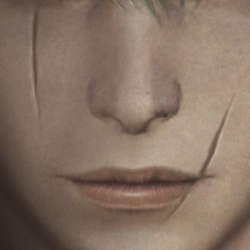
All done with the Brush Tool and a round brush at different settings.
Note: I have also used the Blur Tool and begun blurring the hair.
Eye's before (Hair is the last thing we do, so it looks fake here)

Eye Highlighting

Scars and lips before

Scars and lips after some detail work and highlighting

All done with the Brush Tool and a round brush at different settings.
Note: I have also used the Blur Tool and begun blurring the hair.

mightysugar
Member
- Messages
- 20
- Likes
- 0
I'm looking for brushes which can express realistic pores/skin textures, as shown in the 1st and the last pictures. I find the pore expression on the nose in the last one pretty cool and realistic, but I don't get how to make it with brushes; it seems it has more than mere brushing over. maybe playing with blending mode/blur?
mightysugar
Member
- Messages
- 20
- Likes
- 0
this is awesome! we're getting better and better. what if we put highlights on the face? will that make it more realistic too?Some additional details. Again, done quickly for demo, you take your time!
Eye's before (Hair is the last thing we do, so it looks fake here)
View attachment 110573
Eye Highlighting
View attachment 110574
Scars and lips before
View attachment 110575
Scars and lips after some detail work and highlighting
View attachment 110576
All done with the Brush Tool and a round brush at different settings.
Note: I have also used the Blur Tool and begun blurring the hair.
View attachment 110577
- Messages
- 24,130
- Likes
- 13,708
Nope. Just one stipple style skin texture brush. The settings vary but that's all you need to use. Don't over complicate the technique.it seems it has more than mere brushing over.
Certainly. That's usually one of the last steps is overall highlighting. It's a process.what if we put highlights on the face? will that make it more realistic too?
mightysugar
Member
- Messages
- 20
- Likes
- 0
If you don't mind, could you please show me the link where you downloaded these brushes? The first one in the screenshot looks pretty nice.Nope. Just one stipple style skin texture brush. The settings vary but that's all you need to use. Don't over complicate the technique.
View attachment 110578
Certainly. That's usually one of the last steps is overall highlighting. It's a process.
- Messages
- 24,130
- Likes
- 13,708
I've had these for so long that I don't remember where I may have found them or which ones I made myself. But I gave you quite a few links in post #29.If you don't mind, could you please show me the link where you downloaded these brushes?
Also look here: https://www.deviantart.com/tag/brushes?order=popular-all-time
mightysugar
Member
- Messages
- 20
- Likes
- 0
sorry for coming back late! I was away from my town. I just downloaded some brushes from the links you gave me, I'll try them soon, thank you!I've had these for so long that I don't remember where I may have found them or which ones I made myself. But I gave you quite a few links in post #29.
Also look here: https://www.deviantart.com/tag/brushes?order=popular-all-time
What should be our next step? dealing with the hair? or other adjustments?
- Messages
- 24,130
- Likes
- 13,708
Adjustments can be made to your own liking. I'm just setting you on a path showing you a simple and basic approach.What should be our next step? dealing with the hair? or other adjustments?
For my next step, I would move on to the hair.
Hair is difficult for most and requires some investment in time and practice. There are hundreds of YT videos on creating hair.
In "touching up" screenshots as you are asking about, you can be as detailed as you desire with the hair.
Let's again look at where we started....
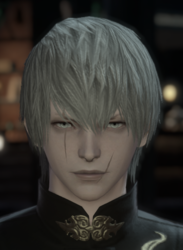
This is approximately where I left off in post #30.
I did use the Blur Tool to soften the outlines of the hair.
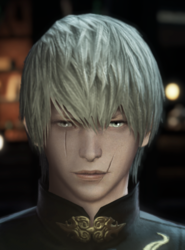
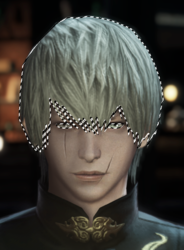
You may or may not need to make a rough selection of the hair to keep shading confined.
Everything I do from here will done using the Brush Tool with a round brush and various settings.
I would also like to add that I did this extremely fast for the sake of time. So it's not perfect. You take your time a do this correctly.....don't rush.
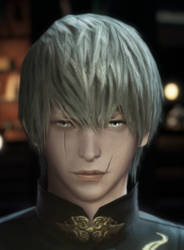
Darkening the shadows.
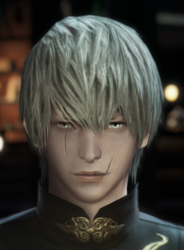
Initial shading........paying attention to light source.
- Messages
- 24,130
- Likes
- 13,708
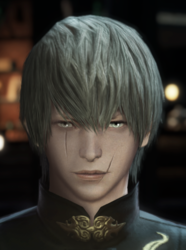
Hair details. (Defining individual hair)
Note: I see that the 'girl" used some hair brushes in some of her edits. I didn't but hair brushes can save you some time. They are often difficult to control.
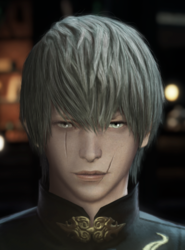
More hair definition (adding in lighter colored hair)
Note: I start pulling individual light hairs into the background.
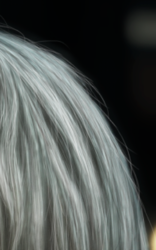
Blending into face....
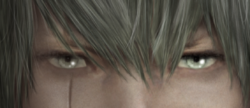
Highlighting
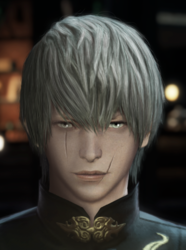
And finally facial highlighting.............make this as subtle or intense as you desire.
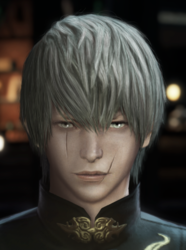
You can get as detailed as you wish with these types of edits!!! It's all up to you!
I intentionally did not try to cover all the tiny details as there are just too many to list! If you have questions just ask.
Note: I see that the 'girl" used some hair brushes in some of her edits. I didn't but hair brushes can save you some time. They are often difficult to control.

More hair definition (adding in lighter colored hair)
Note: I start pulling individual light hairs into the background.


Blending into face....

Highlighting

And finally facial highlighting.............make this as subtle or intense as you desire.

You can get as detailed as you wish with these types of edits!!! It's all up to you!
I intentionally did not try to cover all the tiny details as there are just too many to list! If you have questions just ask.
mightysugar
Member
- Messages
- 20
- Likes
- 0
Your hairwork is just mindblowing. I just wonder tho, what were your brush size and flow setting?
- Messages
- 24,130
- Likes
- 13,708
Everything I do from here will done using the Brush Tool with a round brush and various settings.
Per this old THREAD.
As I stated above, I only use a round brush.
I'm using a Wacom Intuos tablet. This technique would be rather difficult using the mouse!
My basic brush settings for the hair brush are:
Mode: Normal
Opacity: 100%
Flow: 100%
I have the Pressure for Opacity Icon set to ON.
I have the Pressure for Size Icon set to ON.
Hardness: 85%
Spacing: 1%
Size: 5px
You have to change the brush size occasionally.

