What's new
Photoshop Gurus Forum

Welcome to Photoshop Gurus forum. Register a free account today to become a member! It's completely free. Once signed in, you'll enjoy an ad-free experience and be able to participate on this site by adding your own topics and posts, as well as connect with other members through your own private inbox!

How to turn borders of clip-art into transparent pixels?


jist

Active Member
Messages
44
Likes
7
Hi there,

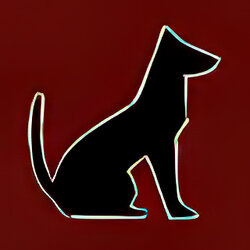
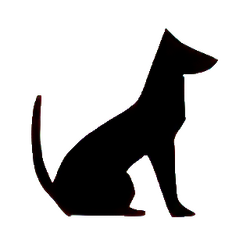
My question is: How can I make the white (and light grey) borders of a cut-out of a low res clip-art image transparent instead of white?
I've looked at several tutorials that I thought that might have a solution for this, but they all seem to suggest using masking, smoothing, feathering etc.
And that doesn't seem to work well for lo-res clip-art.

So what (I think) I am looking for is a way to have the near-white pixels to become almost completely transparent blacks, and the greys gradually less transparent blacks.
That would be the best solution to approach this, wouldn't it?

TIA!

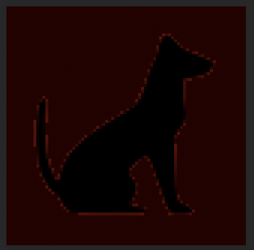
transparent-borders-dog-test.png
 
update

After some more searching I found an answer that does seem to work for this:

1. Go to the Channels tab.
2. You should see "Gray" next to the thumbnail of the image you want (if you don't see "Gray", then your image is not grayscale).
3. Ctrl+click on the thumbnail image next to "Gray". This will select all the white areas of the image.
4. While the white areas remain selected, go back to the Layers tab and select the layer with your image on it.
5. Now go to the top menu and select: Layer > Layer Mask > Hide Selection. If "Layer Mask" is not selectable, then make sure your image layer isn't set to background (if it is, double click on it, and then click "OK" in the window that opens. It should now be set to "Layer 0").

It still does not make this specific example picture look great, but that is probably a result of the 'quality' of the source image. So some additional pre- and or post processing may be necessary also.
 
(this forum does not allow for editing a post irrespective of the time passed, but before somebody replied, so I regret to have to add yet another reply of my own)

This solution still results in some whitish halo around the image. So the border pixels still aren't really 'transparent from black'.
So maybe I'm a step closer, but I still can't figure out the perfect solution.
 
I didn't completely understand what you're trying to accomplish since the image is so small/low resolution and you reference a gray channel while this is an RGB image...unless you want a grayscale image as an end result. I ran this image thru Gigapixel to up the resolution so you could possibly provide a clearer explanation...?

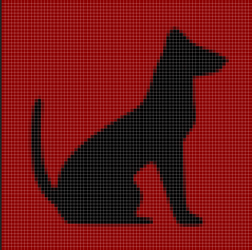
animal pose.jpg
 
I didn't completely understand what you're trying to accomplish since the image is so small/low resolution and you reference a gray channel while this is an RGB image.
Thanks JeffK
The low resolution is intentional, since I would use this on e.g. low-res icons.
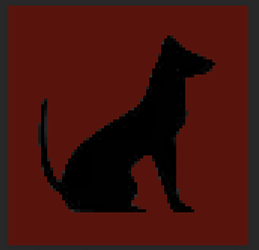
The red in the picture is to clearly demonstrate the white and light-grey border pixels surrounding the black body of the icon. (after having removed all whites from such an image)
If you would replace the red with white you'd have the original image.

So the objective is to turn all the light grey surrounding pixels to black, but transparent pixels.
Their transparency depending on their original brightness.

Anther way of explaining the same thing:

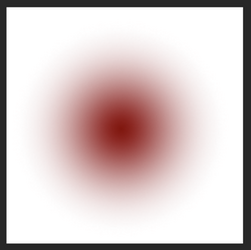
Suppose you have a flat, greyscale image like this:

greyblobflat.png

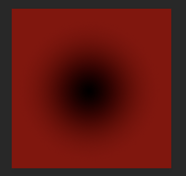
And you want to extract all non-white pixels and turn them into something transparent that you could place over for example a red background:

greyblobtransparent.png

I can't explain this any better I'm afraid.
 
Last edited:
The only interpretation I'm coming up with is that you want the animal figure masked so that it's on a transparent background. So here's examples - these are on transparent backgrounds:

Original size:
animal pose original size.png

Enlarged version:
animal pose.png
 
No, sorry, but that's getting worse: now there is not only white, but also red introduced to the image.
Maybe it's good to just forget about this 'dog' example, and take a look at the white 'andromeda' image.
The challenge is to extract all non-white pixels, apply transparency to the result so that you can place it over any background (for example a red background) without any whites or light-greys showing.
 
Photoshop's Blend-If feature can accomplish what you want. Blend-If examines the brightness/darkness of each pixel and either keeps them or hides them, depending on how you adjust the settings. In your case, you want to hide anything that's white or light gray in your icon image and allow the underlying background to show through.

Here's a good tutorial explaining Blend-If. Make sure to pay attention to the part about "feathering", which starts at about the 4:00 mark. You will need feathering in your example.

 
Set the layer to screen.
Suppose you have a flat, greyscale image like this:
And you want to extract all non-white pixels and turn them into something transparent that you could place over for example a red background:
I can't explain this any better I'm afraid.
Like this?
Screen Shot 2024-07-09 at 10.52.52 AM.png
 
Photoshop's Blend-If feature can accomplish what you want
Thanks, that is something that I had indeed stumbled upon and tried.
But I was unable to get the result as described.
Can you confirm that by using that technique you have managed to get the exact result as I described using the white and red andromeda images?
Perhaps I have been doing something wrong there?
 
Nevermind........blend if works better on the teeny weeny tiny dog image.

Screen Shot 2024-07-09 at 11.10.51 AM.png
 
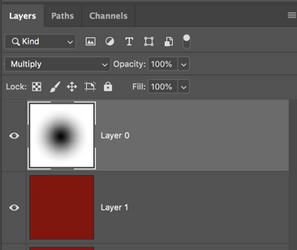
Set to multiply...
Holy you know what!
That works!

I don't understand what that does exactly, but it's amazingly simple and works great, so I probably should go and learn more about it ;-)

Thanks IamSam! (and the others putting their teeth into it)
 
Nevermind........blend if works better on the teeny weeny tiny dog image.
Not for me, multiply also works perfectly on the small doggie for me too.

Should I add 'solved' to the topic title?
(if that even can be done by me)
 
You're welcome! I'm glad it works for you! I wasn't sure if it would meet your needs which is why I felt like the blend if option worked better.

Should I add 'solved' to the topic?
(if that even can be done by me)
Nah..........we don't do that here. We leave the threads open in case someone down the road wants to add something different.
 
The multiply option does not really work...................it darkens the image and you can still see the white outline.

Screen Shot 2024-07-09 at 11.22.42 AM.png

Blend if does not change the colors and clears the white.....
Screen Shot 2024-07-09 at 11.24.40 AM.png
 
OK
I wasn't thinking of locking the thread though (not a fan of that either), but I thought it might be useful for users that scroll through topics to see in the title if it was already solved.
 
but I thought it might be useful for users that scroll through topics to see in the title if it was already solved.
Gotcha! The problem is that with Ps, there's never really a single solution. There are many ways to accomplish an outcome with Ps.
 
The multiply option does not really work...........
It does work perfectly for the small image that I am doing my testing on now.
(I've been trying and editing so much stuff today that it might be slightly different from what I posted in the beginning, not sure, brain has been getting fried a bit)

endresultdoggietransp.png
 

Back
Top