For quite a long time, I used the GIMP as my main photo editor. I think I know pretty well how it works. Here's how I would change the color of the nails in the GIMP:
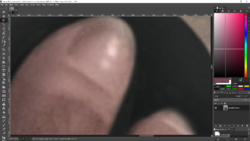
First, you need to use the free-select tool to draw a polygonal selection around the nails. By default, the free-select tool is the third tool down from the top on the toolbar, and the icon looks like a lasso. (After selecting the first nail, you will need to hold Shift while selecting any more. If you do not hold Shift, the first one will be deselected.) If you make a mistake during your selection, press Esc and try again. When you finish drawing your selection, press Enter. The selection outline will change from a solid line to a dotted line like this one.
View attachment 90602
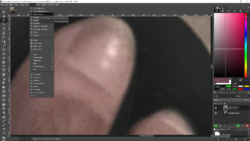
After pressing Enter to complete the selection, push Ctrl+C and Ctrl+V to duplicate your selection to a new layer (or ⌘+C and ⌘+V if you use a Mac). Then go to the Colors menu on the top, and select Hue-Chroma.
View attachment 90604
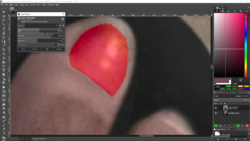
Once you click on that, a window will pop up with a few sliders you can mess around with until you achieve the desired color.
View attachment 90605


