What's new
Photoshop Gurus Forum

Welcome to Photoshop Gurus forum. Register a free account today to become a member! It's completely free. Once signed in, you'll enjoy an ad-free experience and be able to participate on this site by adding your own topics and posts, as well as connect with other members through your own private inbox!

Tips on how to create this effect


fxhqqt

New Member
Messages
2
Likes
0
Hello everyone and good day to you!

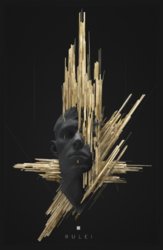
I am fairly new to these forums so I will be blunt -- I'd need some help on recreating something similar to to this but with another portrait:
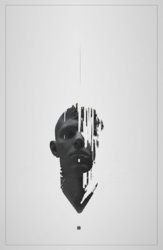
0eeb9345df9f88f39d2bd07e6b8a444b.jpg

So yeah my specific questions are how to create the background from scratch (or make it otherwise) and how to make the portrait look like this, it's kinda dark and looks like it is a sculpture!

Thanks everyone and sorry for taking your time!
 
Hello and welcome.

A little too much drama with the spoiler tag. This is not a very well done effect and there are some major flaws..............however, I don't know if you're considering what I see as flaws as the background. It would really help if you could describe what you refer to as the background.

What I see are some poorly placed brush tool work that was used on the face that were not properly masked that show through. Or, there was something covered up from the original image. Do you consider this to be part of the background?

Screen Shot 2019-03-16 at 8.21.30 AM.png

Possible original? https://www.artstation.com/pharrisgenois
a6d6bccc36ab1fe8aee8e6efac18a8ae.jpg
 
Hello, thanks for the welcome and thanks for taking your time to reply to me!

I put the spoiler tag because I wanted the text to be neat and easy to read, that's all.Sorry if any inconvenience.

By background I literally mean the gray(ish) "layer" below the glitched portrait of a man.
 
By background I literally mean the gray(ish) "layer" below the glitched portrait of a man.

OK,

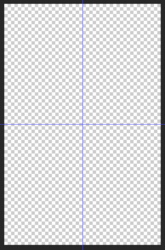
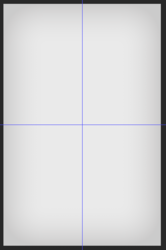
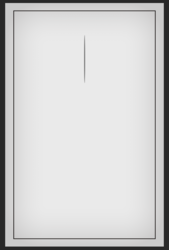
Create a document to the appropriate size. Set up some center guides.
Screen Shot 2019-03-16 at 7.31.57 PM.png

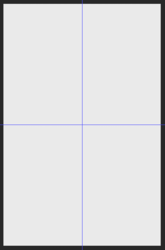
Fill with appropriate color of choice for your BG. In this case....R 234 G 234 B 234.
Screen Shot 2019-03-16 at 7.32.54 PM.png

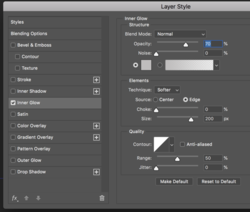
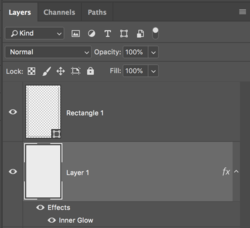
Add a vignette using an "inner glow" layer style set to a slightly darker color. Adjust to your liking.
Screen Shot 2019-03-16 at 7.39.33 PM.png
Screen Shot 2019-03-16 at 7.35.28 PM.png

Create a new layer.

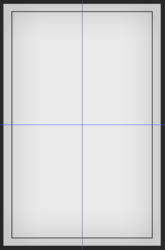
On the new layer, select the Rectangle Tool. Set the tool to "shape", then tun off the fill, and turn on the stroke, set the stroke to a desired color (black) and to 3px.
Screen Shot 2019-03-16 at 7.44.02 PM.png
Create a rectangle starting from the center guides and drag to an appropriate size.
note: Using the Rectangle Tool gives you editability..........you can make quick easy changes if needed.
Screen Shot 2019-03-16 at 7.42.49 PM.png
Screen Shot 2019-03-16 at 7.40.45 PM.png

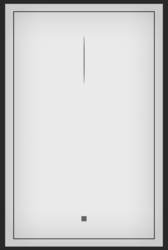
Now you have your basic BG for the example you provided above.
 
Here's how you can create the pointy graphic above the head.

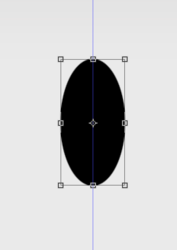
On a new layer, use the Elliptical Marquis Tool to create an ovalish shape.
Hit Cmd/Cntrl + T to enter free transform mode.
Screen Shot 2019-03-17 at 12.24.15 AM.png

While holding the Opt/Alt key, click and drag one of the left or right transform handles towards the middle.
While still holding the Opt/Alt key, click and drag one of the top or bottom transform handles away from the middle, stretching it.
Screen Shot 2019-03-17 at 12.25.16 AM.png

Once done hit enter or click the checkmark to exit free transform mode.
Lower the opacity to suit.
Screen Shot 2019-03-17 at 12.35.28 AM.png

On a new layer, use the Rectangle Tool to create the small rectangle/square below the head.
For a square, hold the shift key to maintain/contstrain proportions.
Set to shape, fill to black, turn off the stroke. Lower opacity to suite.
Screen Shot 2019-03-17 at 12.40.13 AM.png
 

Back
Top