What's new
Photoshop Gurus Forum

Welcome to Photoshop Gurus forum. Register a free account today to become a member! It's completely free. Once signed in, you'll enjoy an ad-free experience and be able to participate on this site by adding your own topics and posts, as well as connect with other members through your own private inbox!

struggling with hue


magenta01

Active Member
Messages
29
Likes
0
hi,
i'm struggling to change the colour of the grass and brown leaves using hue/saturation.

i've provided the before and after shots from images i have seen where they are edited with the hue/saturation adjustment layer, but when i try to replicate this using my own sample images of grass and brown leaves to add a tinge of blue but still maintain the original colour to an extent, the grass and leaves just turn all blue.

it's very frustrating.

can anyone tell me what i'm doing wrong? in other words what's the correct process?

thanks
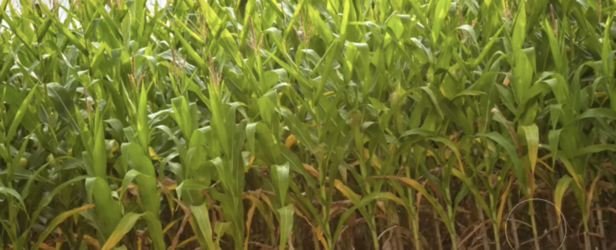
original grass.png

edited grass.png

brown leaves.png

brown leaves edited.png
 
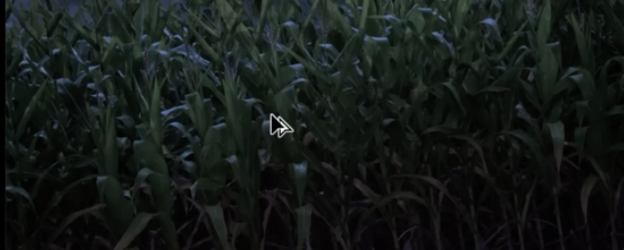
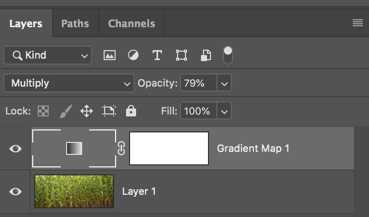
Gradient Map Adjustment layer set to multiply. Opacity 79% (Color is not exact)
Screen Shot 2022-11-07 at 4.06.41 PM.png
Screen Shot 2022-11-07 at 4.09.00 PM.png

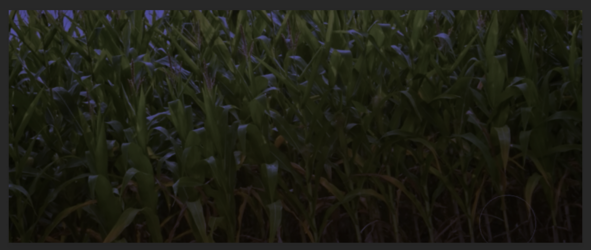
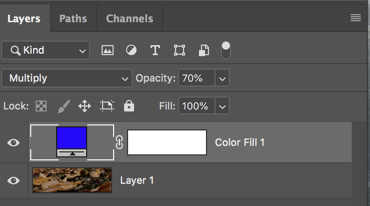
Solid Color Adjustment layer set to multiply. Opacity 70% (Color is not exact)
Screen Shot 2022-11-07 at 4.07.02 PM.png
Screen Shot 2022-11-07 at 4.09.35 PM.png
 
Hi @magenta01

Trying to exactly duplicate someone else's changes can be quite frustrating as there are often many options to consider.
At least you know it was done with Hue/Sat Adjsutment Layer(s).

With the Hue/Sat Adjustment Layer you have several paths that are possible
- Adjust the entire image at once (Master Channel)
- Adjust a portion of the color spectrum at a time
- There is also the colorize mode
- You can adjust opacity to let some from the original image come through
- and if they were really mean they could also include Layer Styles in the mix

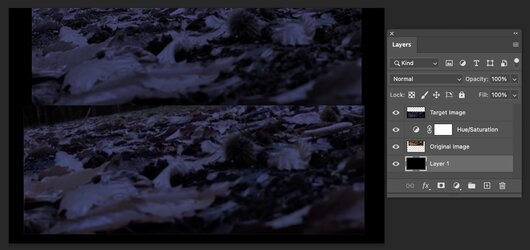
The process I used was to first overlap the original and edited image as raster images and used the Edit > Auto-Align Layers.
Then I increased the canvas size and moved the edited image above the original.
I also placed Color Sampler Tool points at a common point in each image for comparison and set the info panel to show HSB instead of RGB
This lets you know for several points how much the Hue slider needs to change.
It became very apparent to me right away that just sliding the Master Hue slider was not going to work and it might require several subsets of the spectrum being moved differently. I went nowhere with that. Yet I tried the Colorize checkbox option and that got a lot closer (though all the same Hue) yet that was solved by adding a bit of transparency with the opacity slider for the Layer.
Clearly you also have to adjust the Saturation and Lightness to get a match so a bit of iteration invovled.

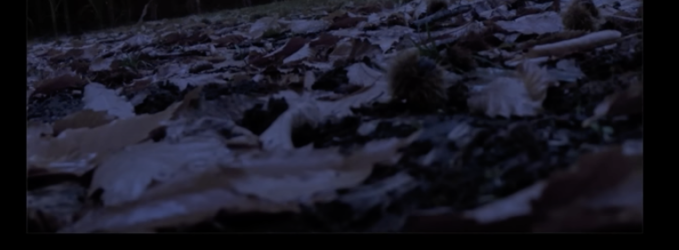
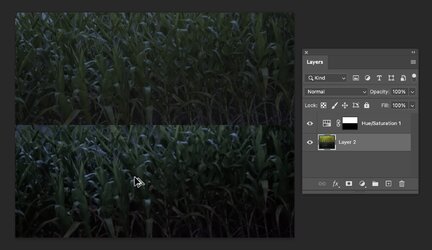
For the second image I am showing the before and after using colorize and a bit of transparency. I won't give the parameters on the Hue/Sat/Lightness numbers so you can so some work there.

So it was no easy for me and it did take some persistence.
Below is the adjusted image on top and the image to match on the bottom.
Hope this helps
John Wheeler

Screen Shot 2022-11-08 at 12.54.17 PM.jpg
 
And just to verify, using the same general approach as the first image, the second yielded pretty close as well
John Wheeler


Screen Shot 2022-11-08 at 1.05.06 PM.jpg
 

Back
Top