What's new
Photoshop Gurus Forum

Welcome to Photoshop Gurus forum. Register a free account today to become a member! It's completely free. Once signed in, you'll enjoy an ad-free experience and be able to participate on this site by adding your own topics and posts, as well as connect with other members through your own private inbox!

Resizing Fabric Swatches


Alexandria

Well-Known Member
Messages
114
Likes
8
I am trying to make a fabric swatch mockup and found this 900x900px image.
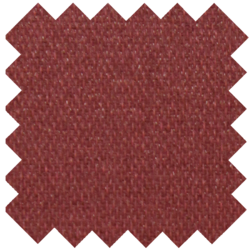
fabric-swatchd25.png

After resizing, the edges are practically no longer to be seen.
My swatch is the brown one at the bottom
Capture.JPG

I need to be able to change the fabric to anything (and maybe change the size, but always SMALL), but still preserve the sharpness of the swatch edges. Any tips please?
 
I need to be able to change the fabric to anything (and maybe change the size, but always SMALL), but still preserve the sharpness of the swatch edges. Any tips please?
The sharpness of the edges are determined by the starting shape. The shape/image (PNG) you have chosen was not made correctly.

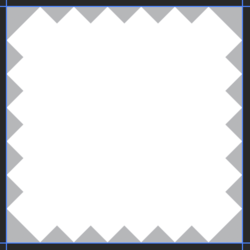
You need to create your own original shape that starts off with crisp sharp edges as seen below and save as a PNG. This one is 879 x 881 pixels.
This is a screen shot and not the actual PNG shape file...........demo only!
Screen Shot 2023-12-19 at 11.57.19 AM.png

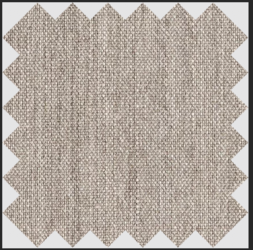
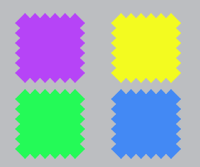
One showing fabric..........just a screen shot.
Screen Shot 2023-12-19 at 12.50.37 PM.png

When you place/open the PNG in the document you want to use as a mockup, you immediately copy it as many times as needed! Always make one extra copy just in case and don't resize it, turn its layer off! Then convert each of the shapes in to a smart object one at a time (except for your spare copy!). You can then resize and position each of the converted SO copies. Resizing the SO's/copies will maintain the edge sharpness to a point. Eventually the shapes will lose some sharpnes when you get them too small.
When you double click on one of the SO's, it will open a PSB document where you would add the different fabrics by a clipping mask layer.

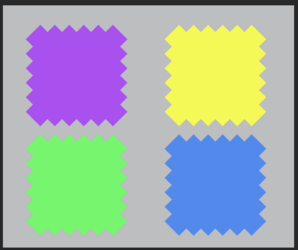
Here I have just added color adj layer clipped to the shape in the PSB document instead of fabric. Then save.
Screen Shot 2023-12-19 at 12.12.16 PM.png

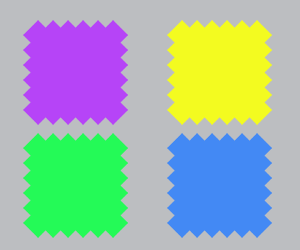
This is a saved 300px x 250px PNG.......
Untitled-1.png

200px x 167px
Untitled-2.png
 
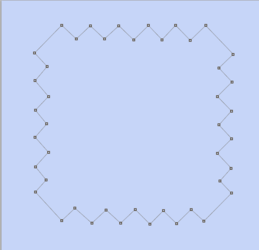
  • Use the Pen tool to create a vector path for your swatch outline, something like this.
  • I traced your swatch sample, but you can make the scalloped edges deeper, if you wish, so that they will show up better at small scale.

1703009392011.png


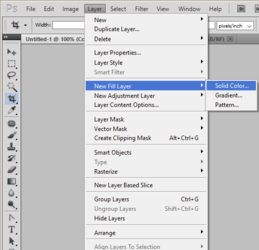
  • While that path is active, go to Layer>New Fill Layer>Solid Color. It doesn't matter what color you use.
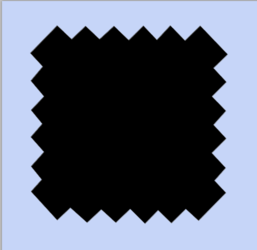
  • You have now created a vector shape. On this shape layer, you can resize the image using Edit>Transform Path. No matter how many times you increase or decrease the size, the vector edges will always remain perfect.

1703009592092.png


1703010080553.png


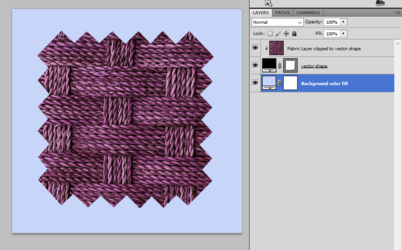
  • On a new layer above this, import your fabric sample.
  • Create a clipping mask to clip the fabric to the vector shape below.
  • You can now independently resize either layer. You can make the vector shape larger or smaller, and you can also scale the fabric layer larger or smaller.

1703010336263.png
 

Back
Top