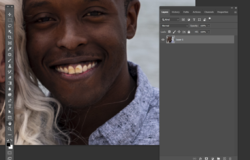
Sometimes the patch tool, healing brush or clone stamp are the only way to go. But those tools replace the targeted pixels with different pixels and are therefore "destructive". My bias is always to first try to leave the existing pixels intact (especially on skin). In this case, my plan is to use a Curves adjustment on the chin to change the color of the light pixels to match the rest of the darker skin.
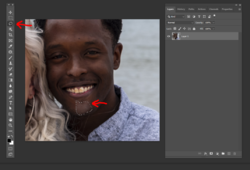
I used the Color Sampler to select two spots of skin right next to each other that ought to be the same color, but are not. You can see them below labeled #1 and #2 (where the white arrows are pointing). When you use the Color Sampler, the Info panel pops up, displaying the RGB values of the two spots. You can see that Spot #2 reads R89, G64, B60. But it needs to be the same as Spot #1, which reads R64, B36, G29.
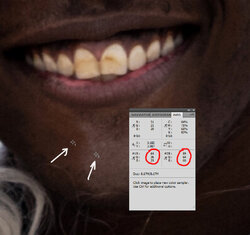
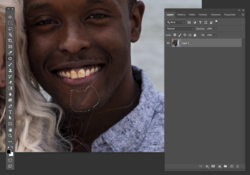
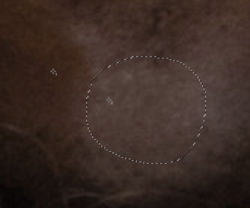
Using the Lasso tool, create a very rough selection (no need to be careful—this is only temporary) of the chin that includes Spot#2 but
excludes Spot #1. With that selection active, open a Curves adjustment layer.
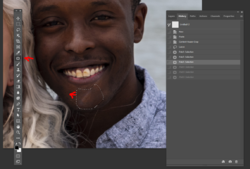
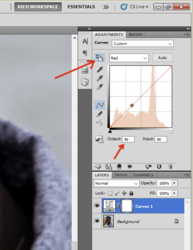
In the Curves layer, select the Red channel and activate the little hand-pointer icon (where the red arrow is pointing). Using that icon, click it exactly onto Spot #2 in the image (on the man's chin). The Curves layer identifies that spot and displays the Output and Input values for it. We are interested in the
Output (where the other red arrow is pointing) that currently reads 90. From Spot #1, we know that Red needs to be 64. So, in the Curves adjustment itself, click the mouse onto the Output figure that reads 90 and change it to 64 in that little box. Press
Enter, and the Curves adjustment will reset the Red value of Spot #2 from 90 to 64.
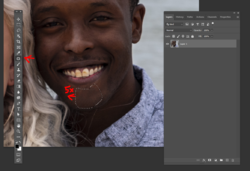
Repeat this exact process in the Curves adjustment for the Green channel and the Blue channel. Once done, you have changed the color of Spot #2 to the desired value of R64, G36, B29.
Now fill the layer mask of the Curves adjustment entirely with black. Use a soft brush and paint with white in the layer mask to reveal the curves adjustment on the stained area of the chin. Do only the central, obvious parts of the chin and avoid the edges where it borders the good skin. Once you've got the central part done, change the Flow setting of the brush to something very low, like 5%. With that low-Flow brush, gradually paint white into the layer mask to feather-in the transition from the stained area of skin to the good area. It takes a little patience and you may need to vary the brush size. If you go too far and accidentally darken a part of the skin that was already dark to begin with, change the color to black and paint in the mask to restore that skin back to where it was.
