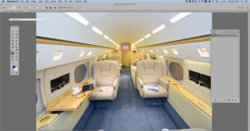
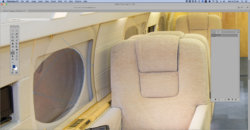
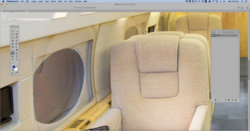
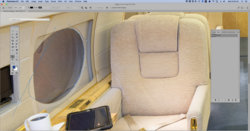
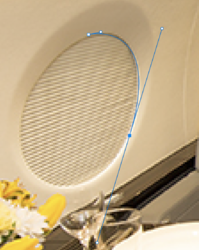
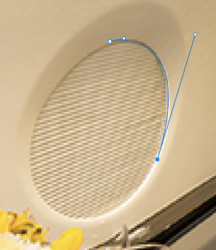
Ok... here's a slightly different approach. In most tutorials, they simultaneously click & drag with the Pen Tool, which both creates the anchor point and curves the path. I'm going to separate those two actions: we'll first establish the anchor points and then we'll go back later and curve them.
Step1:
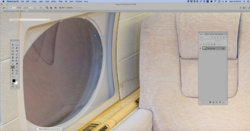
Use the Pen Tool to create a closed triangle around your window, as in the image below. You can start anywhere for the first anchor point, but once you start, go
clockwise around the window to create anchor points 2 and 3 and then go back to point #1 to close the path into a triangle shape. Once you've done this, save the path with a name so that it is not accidentally deleted. (see Post #7 above to name a path.)
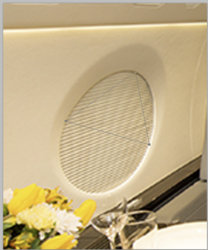 Step2:
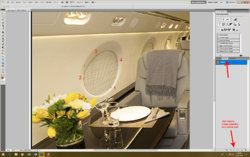
The Pen Tool icon has other sub-tools built into it. Go into the Pen Tool icon on the toolbar and select the tool where the red arrow is pointing. It's called the Convert Point tool.
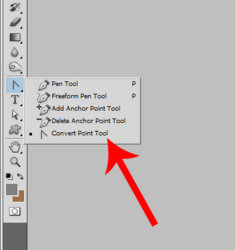 Step3:
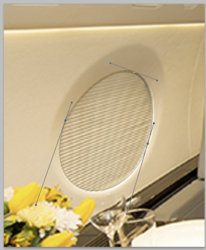
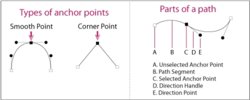
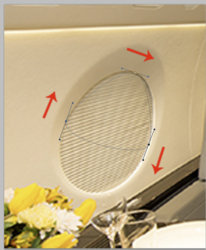
With the Convert Point Tool active, click it anywhere on your path to activate the anchor points. Starting at the topmost anchor point, click this tool exactly on the anchor point, hold down the mouse and drag to the right (in the direction of the red arrow). This has now opened the adjustment handles on the first anchor point and has begun to curve the path. Repeat this for anchor points 2 and 3—dragging in the direction of the red arrows (i.e., clockwise)—until your path looks like the image below. (Obviously, we are not even close to the shape of the window. That's coming soon.)
While you're dragging your adjustment handles, experiment with the length of the drag and the angle of the drag and notice what it does to the path leading into and out of your anchor point. Also notice that the adjustment handles extend equally in both directions. That's a subtlety I'll talk about next to exactly fit the curve to the window.
 Step4:
For the bottom two anchor points, we now want to change the length of the adjustment handles in one direction only, so that they no longer extend equally in both directions. There's another tool for that in the toolbar. Look at the image below and activate the tool called Direct Selection Tool.
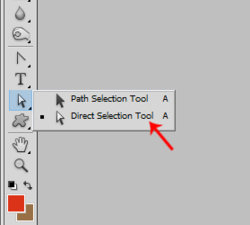 Step5:
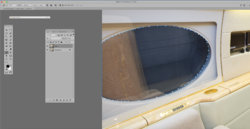
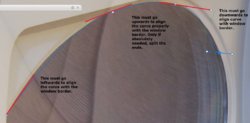
Using the Direct Selection tool, click on one of your bottom anchor points and drag only the lower adjustment handle. This independently adjusts the curve in a downward direction but leaves the upper half of the curve unaffected. Do the same for the other bottom anchor point. There's a lot of trial & error, but the goal is to manipulate the length and angle of the adjustment handles to exactly match the curve of the airplane window. Once you've got the bottom curve done, use this same tool on the upper half of the window to adjust those curves to a good fit. When you're all done, the adjustment handles of each of your three anchor points should look like the image below and the curved path should match the window very nicely. Once you've established the path, you can create a marching-ants selection using the steps in Post #7 above.
The path for this particular airplane window can be created with just three anchor points, but sometimes you simply can't get the curve to match and you'll find that you need more (or fewer) anchor points. Rather than starting over from the beginning, there are tools for this. Go back to my image above labeled Step2 and you'll see that within the Pen Tool are sub-tools called Add Anchor Point and Delete Anchor Point. You can use these on an existing path, rather than starting over. But always remember... the fewer anchor points, the better.
