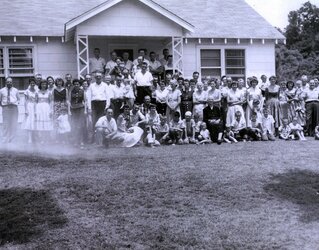
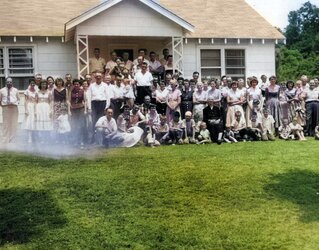
Hi
@the_tokamak
There are many ways to approach this type of problem and am just showing my approach.
When solving image problems that are both color and luminosity/tone issues (as in your image) I often separate out working on luminosity first and then work on the color issue.
I also prefer using the tools available in the Camera Raw Filter and using Smart Objects with those filters so that I can go back and make additional adjustments if needed.
1) I usually keep the original image as its own first Layer.
2) Create two copies of the original Layer the first copy will be the luminosity working Layer and the top Layer will be the Color working Layer
3) Turn visibility off of the Color Layer
3) Take the Luminosity Working Layer and insert a full white Layer above it and set the blend to Color. This will extract out the Luminosity component out of the image. Merge this with the Lower Luminosity Layer so it is now one Layer and B&W
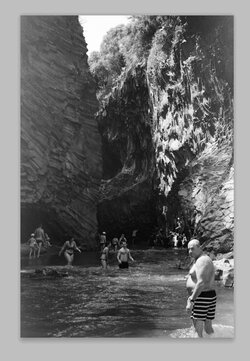
4) Turn the Luminosity Layer into Smart Object and then apply the Camera Raw Filter. Withing the camera raw filter I used the linear gradient adjustment tool twice one for each light flare on the upper left and upper right and adjust until the B&W version looks decent. The two following images show the Luminosity before and after application of the Camera Raw Filter.
Before:
After
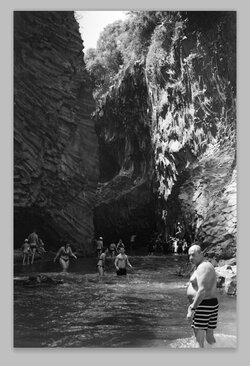
5) Close the Camera Raw Filter and turn on the visibility of the Color Layer and select the Color Layer. The image will now look as this:
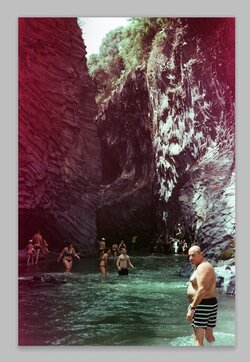
6) Now with the color sample took pick a good color area of the rock and brush with that color on this Working Color Layer. You will see the good color replace the bad (red) color. For each area that you need to brush over, just sample and paint such as different areas of the rocks and water. It looks like magic. Below is that Color Adjustment Layer by itself with the large patches of new color:
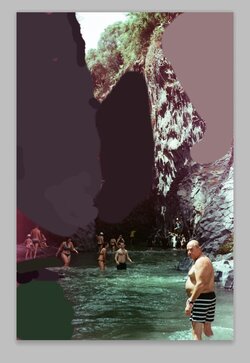
Yet with this Color Layer so you can see large areas are painted the same color. Yet with the Layer set to Blend of Color, it just uses the Color of this Layer with the Luminosity of the Layer below. That is the magic:
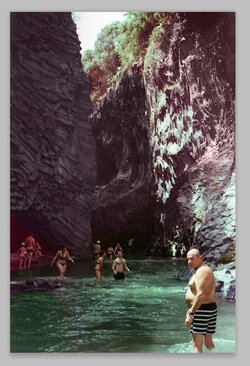
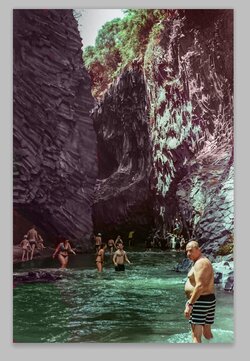
At this point there is still some discoloration of the people under the big rock yet most of the light leak problems have been resolved. From here, I selected both the Color and Luminosity Layers and converted the pair into its own Smart Object. I then again used the Camera Raw Filter to make normal overall tonal changes, reduce noise and increase sharpness as well as reduce saturation for the people below the rock face on the left side etc with the final result:
Hope the details are helpful
John Wheeler


