Photoshop Gurus Forum
Welcome to Photoshop Gurus forum. Register a free account today to become a member! It's completely free. Once signed in, you'll enjoy an ad-free experience and be able to participate on this site by adding your own topics and posts, as well as connect with other members through your own private inbox!
You are using an out of date browser. It may not display this or other websites correctly.
You should upgrade or use an alternative browser.
You should upgrade or use an alternative browser.
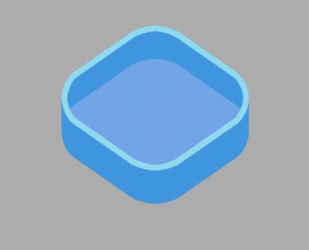
How can I make this basic shape?
- Thread starter Aviorrok
- Start date
Thank you, is it possible to make it without pen tool?Pen Tool set to Shape.
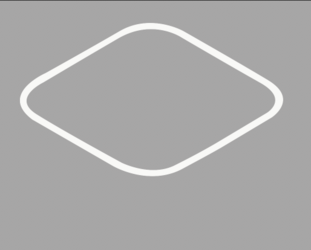
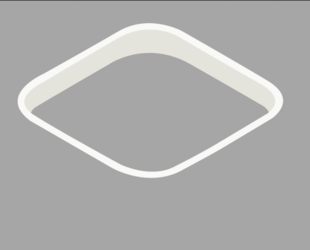
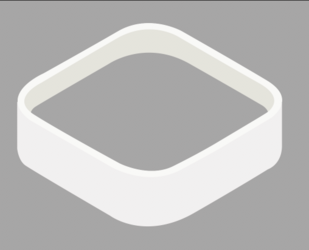
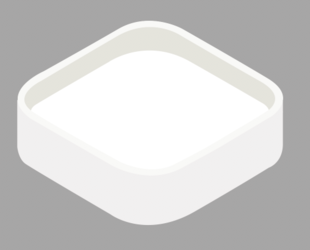
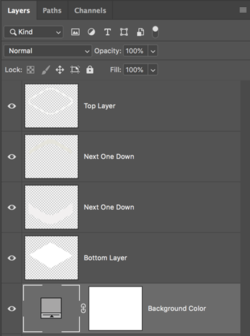
Four layers.
Top layer
View attachment 134538
Next one down
View attachment 134539
Next one down
View attachment 134540
Bottom layer
View attachment 134541
View attachment 134542
- Messages
- 23,906
- Likes
- 13,636
OK..............I went under the assumption that we were re-creating the existing graphic from your example................if this is the case, then the Pen Tool is your best choice. Not that you can't make a Rounded Rectangle with different radii for each corner, but you would still have to use Free Transform to set the orientation of the rectangle. This process alone would consume large amounts of time trying to match the original sample. So the Pen Tool is the best and fastest way to recreate the existing sample graphic.
However, if I were creating a similar graphic from scratch, I would use various shapes and guidelines. I would still need to manipulate the shape with either the Pen Tool or the Direct Selection Tool. I would also need to outline with the Pen Tool. So just about any way you look at it, you will probably end up using the Pen Tool.
The other option would be using Ps 3D features/engine. You would have to be well versed in Ps 3D to accomplish this.
- Messages
- 23,906
- Likes
- 13,636
I did figure out a technique for creating this type of graphic from scratch with only using the Pen Tool one time!
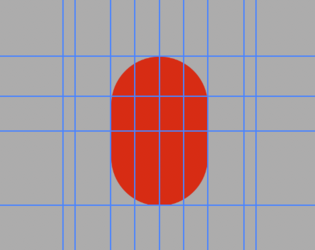
Set up your Guidelines.
Use the Rounded Rectangle Tool to create top and bottom radii.
Repeat for left and right radii on a new layer.
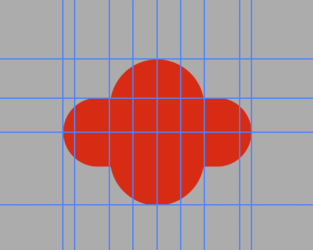
This is the step where you have to use the Pen Tool.
On a new layer, use the Pen Tool to make one half of the top shape.
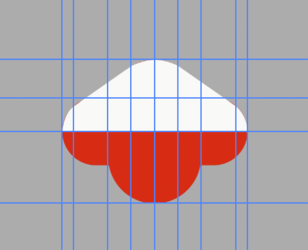
Turn off the two original Rounded Rectangle layers.
Duplicate the newly created top shape.
Use free transform to turn it over.
Use Move Tool to position.
Merge the two halves. (We will call this Base 1)
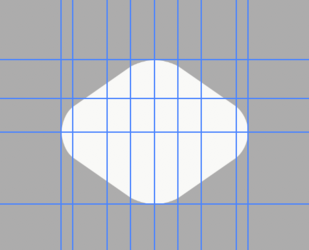
Duplicate. (We will call the duplicate Base 2)
Change the duplicates color.
Position the duplicate.
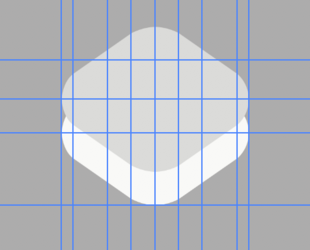
Make a selection of both.
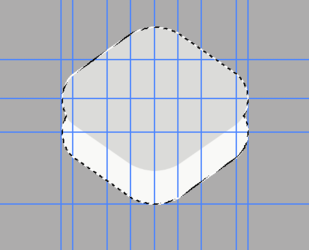
On a new layer, fill the selection with white.
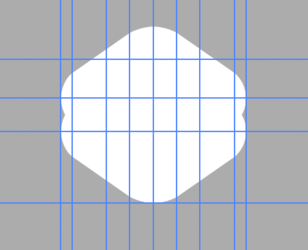
At this point you want to turn off the two layers you used to make this selection, but do not DISCARD! You will need them later.
You will notice that you have dimples on the right and left sides.
Use the Rectangular Marquis Tool and the guides to make them straight.
Fill with white.
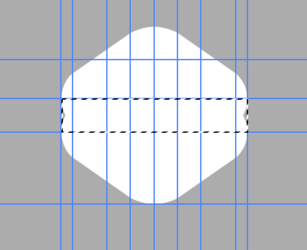
This shape will now be your base for your graphic. This will be Base 3.

Set up your Guidelines.
Use the Rounded Rectangle Tool to create top and bottom radii.

Repeat for left and right radii on a new layer.

This is the step where you have to use the Pen Tool.
On a new layer, use the Pen Tool to make one half of the top shape.

Turn off the two original Rounded Rectangle layers.
Duplicate the newly created top shape.
Use free transform to turn it over.
Use Move Tool to position.
Merge the two halves. (We will call this Base 1)

Duplicate. (We will call the duplicate Base 2)
Change the duplicates color.
Position the duplicate.

Make a selection of both.

On a new layer, fill the selection with white.

At this point you want to turn off the two layers you used to make this selection, but do not DISCARD! You will need them later.
You will notice that you have dimples on the right and left sides.
Use the Rectangular Marquis Tool and the guides to make them straight.
Fill with white.

This shape will now be your base for your graphic. This will be Base 3.

- Messages
- 23,906
- Likes
- 13,636
Starting with Base 3, (I changed it's color to blue using a clipped H&S adj layer set to colorize)

Duplicate. (The duplicate is white) Base 4.

Using Base 2 to make a selection and then inverting the selection
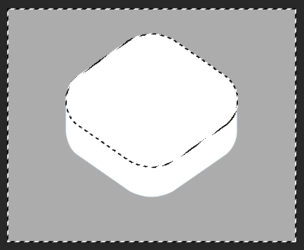
Add a layer mask.
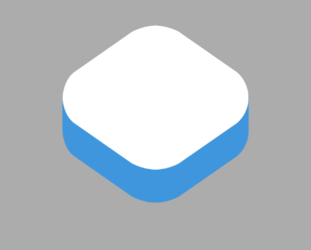
Now using Base 1 and base 2, make this selection
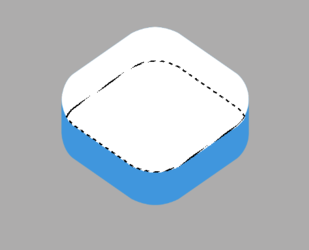
On a new layer fill with white. Base 5
I changed it's color to blue using a clipped H&S adj layer set to colorize

Now for the last part!
On a new layer make this selection using Base 2
Fill with white.
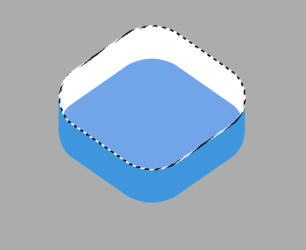
Then go to SELECT > MODIFY > CONTRACT and enter a pixel amount....mine was 25.
Hit delete.
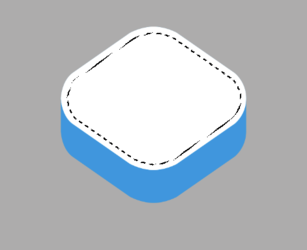
Now change it's color to blue using a clipped H&S adj layer set to colorize

All layers colors are editable!
Done!

Duplicate. (The duplicate is white) Base 4.

Using Base 2 to make a selection and then inverting the selection

Add a layer mask.

Now using Base 1 and base 2, make this selection

On a new layer fill with white. Base 5
I changed it's color to blue using a clipped H&S adj layer set to colorize

Now for the last part!
On a new layer make this selection using Base 2
Fill with white.

Then go to SELECT > MODIFY > CONTRACT and enter a pixel amount....mine was 25.
Hit delete.

Now change it's color to blue using a clipped H&S adj layer set to colorize

All layers colors are editable!
Done!
Amazing thank you!You can even just turn off the base 4 layer is you want the inside to be the same color as the outside.
It's up to you.
View attachment 134574

