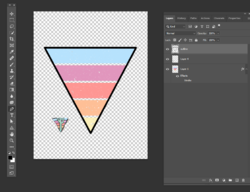
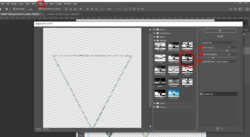
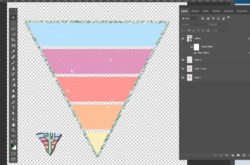
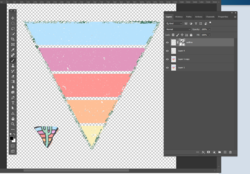
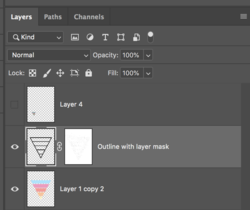
Ok I was able to do the filter step successfully but you lost me on the second step. What do you mean chopped away with a masked grunge brush?
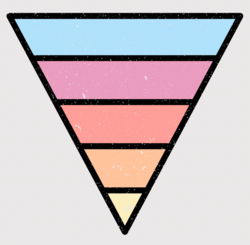
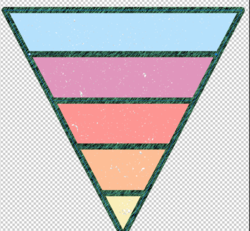
How do I get mine to look like your finished result? I still see all the green scribble lines. How do I get those to go away to where I just see the black stroke (like in your pic above).
What I meant by "chpped away" was what
@IamSam - just using a layer mask and then a grunge brush to mask out parts of the outline.
(*Please forgive me if I'm telling you something you already know - I don't the extent of your knowledge)
You'll need grunge brushes - here's a set that I use - Grunge Brushes by Aramis Dream
3 files sent via WeTransfer, the simplest way to send your files around the world

we.tl
You can also go to sites like Brusheezy.com and pick from many different sets.
Here's a quick tutorial on how to add brushes:
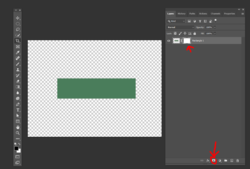
To demonstrate most simply, here's a box I created on a transparent backgroud:
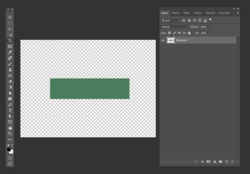
Now with the layer active, I'm going to add a layer mask by clicking on the mask adjustment layer icon - that's the square with the black circle:
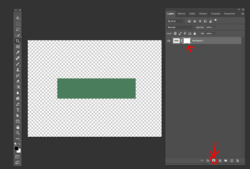
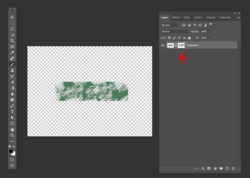
The mask is white which means it's revealing what it's covering ( the green rectangle). In masking, white reveals and black hides.
Now I'm going to click on my brush tool and choose a grunge brush:
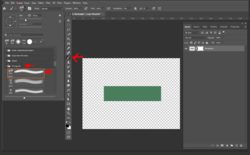
Now making sure my foreground color is black and the mask is active, I'm going to paint on the green square to hide parts of the image:
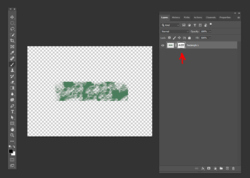
You can see on the white mask where I've hidden parts of the image.
You can switch brushes, and make them different sizes - however your want the image to look. If you want to undo, just paint in white.
If this doesn't make sense to you, please let me know. And please forgive me if you know what I've written in above instructions.
