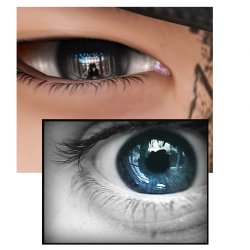
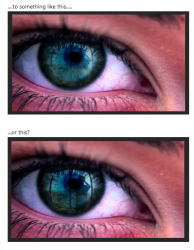
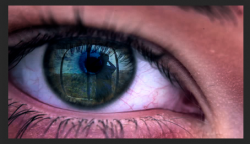
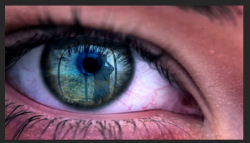
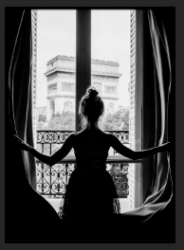
I was just going to write that I can't even find an image like that, tried: silhouette at window, from dark to light ... like everything
Well.........I'm not sure what to tell you there. These images are everywhere. I used "Looking out window" in a Goggle search. The point that I'm trying to push home here is that the image really doesn't matter, it's what you do with it.
Let’s talk about altering any image in order to make it suitable for an eye reflection.
As we have already discussed, you can use any image since it really doesn’t matter. It’s not the image as much as it is what we can do to it in order to make it fit your needs.
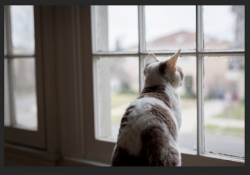
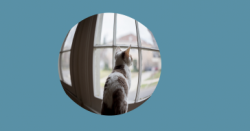
Take this image for instance. It's not the best but we can make it work.

The first thing we need to do is to warp the image as it might appear in the reflection of a curved eye. we do this first before we apply adjustments so that we can tweak them later if needed and it give us a better representation of how it will look on the eye itself. How the reflected image is warped can vary, it does not have to be exactly round.
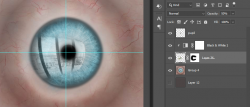
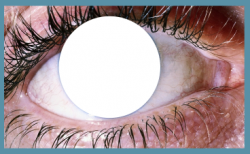
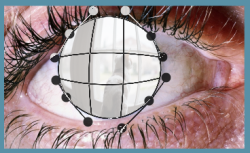
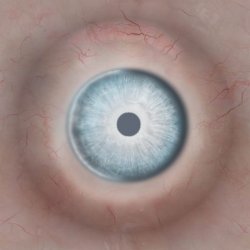
In order to visualize the entire Iris, I will create a circular template.
But this is not necessary, you can just use the eye image itself.

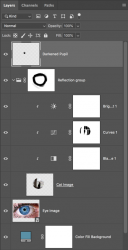
Add the image and then use Free Transform and Warp to make the cat image fit and curve to the circle or eye.

Let’s now turn the eye image off an only deal with the cat image.

What makes for a great eye reflection image is a sharp contrast with a bright background. Let’s start adding and
CLIPPING adjustment layers to the cat image layer.
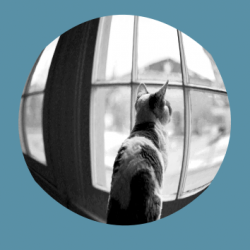
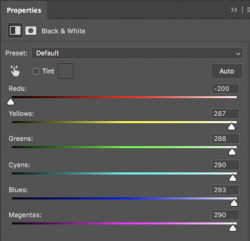
A clipped Black & White Adjustment layer helped in getting it off to great start.
Note: Color would be reflected in the eye so doing this is strictly up to you. You could leave this part out.


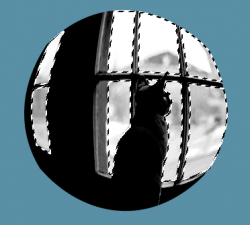
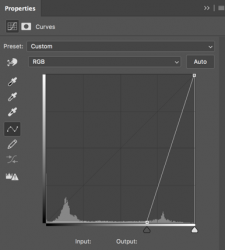
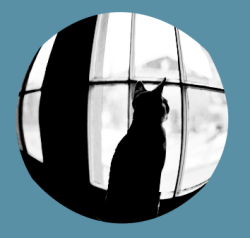
But we need to really darken the foreground to almost black in order to create a silhouette effect. I really want to preserve the contrast so I will now make a selection of the foreground objects that I want to be darkened. For this you can use whatever selection tool you are comfortable using, I use the Pen Tool.
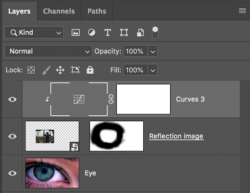
The selection is added to the clipped Curves Adjustment layers-layer mask. It will preserve the lighter background while allowing me to darken the foreground.


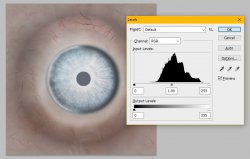
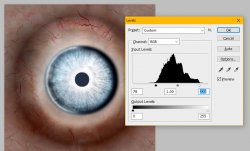
If you're not happy with the brightness of the background, add/clip a Brightness & Contrast or Levels Adjustment layer to brighten.

Now select the Cat image layer and all of the adjustment layers and create a group with them.
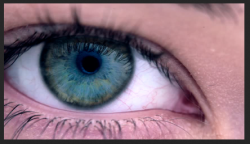
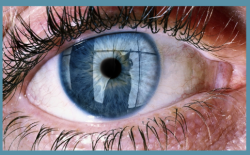
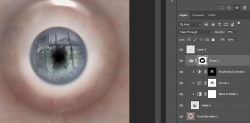
You can now turn on the eye layer.
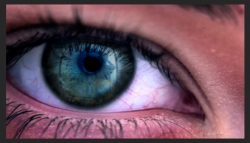
Adjust the group layers opacity to your liking.
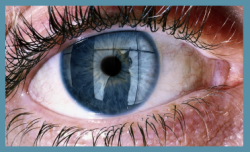
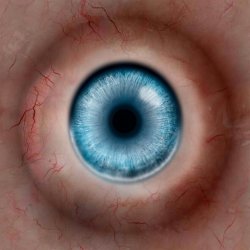
Add a layer mask to the group layer and use the Brush Tool to blend in the edges of the reflection with the Iris.
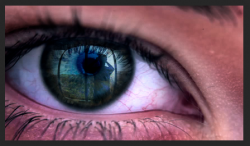
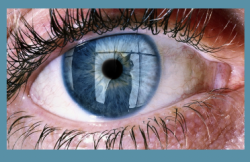
You can also add a new layer above the group layer to darken the Pupil.


The beauty is that everything is editable! It's not the image, it's what you do with it in order to make it work!
