What's new
Photoshop Gurus Forum

Welcome to Photoshop Gurus forum. Register a free account today to become a member! It's completely free. Once signed in, you'll enjoy an ad-free experience and be able to participate on this site by adding your own topics and posts, as well as connect with other members through your own private inbox!

Creating shadows for flat objects


Kbpics

New Member
Messages
4
Likes
0
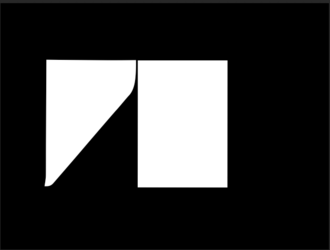
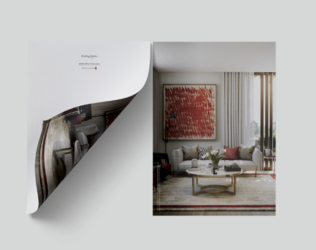
Hi please see the attached image and file.

I’m trying to decipher how this shadow effect is done so seamlessly but the layers don’t provide the answers?

image001.png
 

Attachments

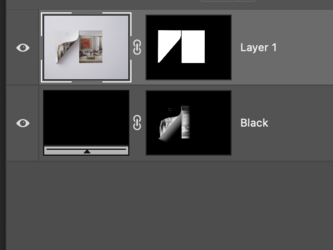
My first observation is that the layers are out of order.

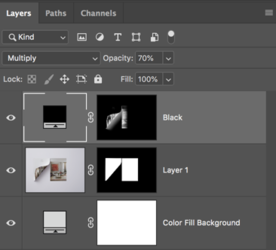
They should appear like this....

Screen Shot 2023-05-29 at 12.45.27 AM.png

This explains why the Black layer was set to Multiply and I would lower it's opacity.
It also allows for the shadowing of the right paper sheet.
Screen Shot 2023-05-29 at 12.47.59 AM.png
 
Its just a really clean shadow and they have been supplied in this order as a group. Your response makes more sene to me. Essentially I want to be able to place the psd into a page with the shadow and without the background…
 
and they have been supplied in this order as a group.
What does this mean? Is there more to this file that's not been provided? It's really difficult to offer help without the entire file.


Why is it black and white - the partial image…?
Are you referring to the layer masks?
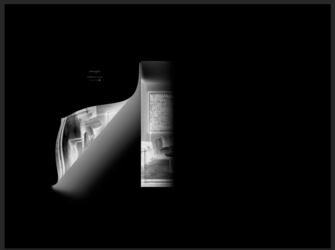
Screen Shot 2023-05-29 at 1.36.40 AM.png
Screen Shot 2023-05-29 at 11.21.42 AM.png

Is that a blend option?
If you are referring to the layer masks.........then no.

I feel as though you are wanting to know how the shadow was created. I think the shadow was from the original image taken by a photographer in a studio.
If you look closely, you can see the substance that the photographer used to "stick" down the curled page. I think the two sheets were photographed separately and then combined later.
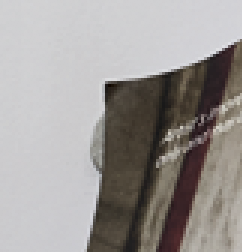
Screen Shot 2023-05-29 at 12.00.31 PM.png

I also suspect that this is a mock up using smart objects to add imagery to the paper sheets.
I found this image that would have been used on both sheets.
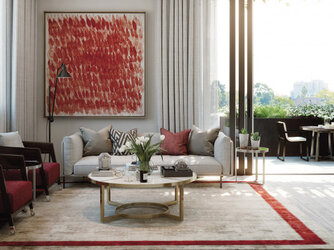
1f0cad7971f04a6e20238413c682dcae254c1bc7.jpg

I'm not certain as to why the "Black" shadow layer was created if not to darken or to offer shadow darkness control to the client using the mock up. It's also used to provide the shadow on the right hand side sheet that was not present on the original photo.

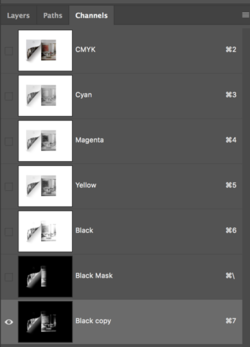
The layer mask for the Solid Color Fill Adjustment layer named "Black", was probably created from one or more of the channels as seen in the channels panel and the Gradient Tool was used on the right side to create the half shadow on the right hand "sheet of paper".
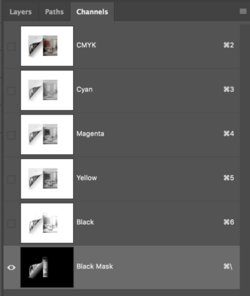
Screen Shot 2023-05-29 at 12.04.28 PM.png

Here I made a copy of the black channel...
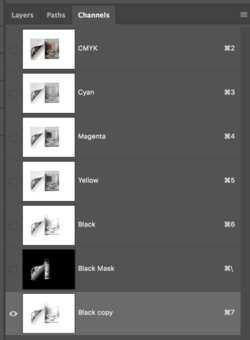
Screen Shot 2023-05-29 at 12.09.46 PM.png

Inverted it....
Screen Shot 2023-05-29 at 12.09.59 PM.png

And used the Gradient Tool to fade the shadow on the right hand sheet of paper...
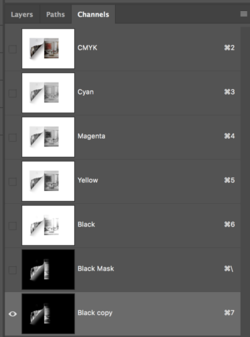
Screen Shot 2023-05-29 at 12.10.25 PM.png
 

Back
Top