What's new
Photoshop Gurus Forum

Welcome to Photoshop Gurus forum. Register a free account today to become a member! It's completely free. Once signed in, you'll enjoy an ad-free experience and be able to participate on this site by adding your own topics and posts, as well as connect with other members through your own private inbox!

Creating a wooden frame


gamecoder.nz

New Member
Messages
1
Likes
0
Hi everyone,

I am trying to create a notice board with a wooden frame. I can create the cork board fine and I am trying to create a frame by first creating a rectangle
Capture1.PNG

Then applying noise
Capture2.PNG

But when I apply a motion blue I get a transparent edge on the left
Capture3.PNG

How do I fix this or how do I create a wooden frame?
 
How do I fix this or how do I create a wooden frame?

several ways.
1. clone stamp over the area, and the 'selection area' marching ants will constrain cloning to its border.
2. 'jump' that image to a new layer, and simply dimensional stretch by 'Transform' that selection over the area. that will stretch the rest of the image in a "Rubber band method" you only need to do it horizontally, no nee for vertical.
3. same as no 2. by a third layer then linked to the lower layer by option clicking between the layers. (I use this method most of the time) and then flatten the layers when I get it looking right.
that is a few.
4. use an image of 1,2,or 3 methods, and then Overlay a true wood grain scan and reduce its opacity till its looks right.

it also depends wether you want to make Faux wooden type frames, or realistic ones... that is more on the effect you are trying to achieve.
I have quite a few folder of scanned wood grains at high resolution, Mahogany, cedar, pine, etc. and they can be called a cropped to areas selected.. (I always use layers, and layer masks)

there are many sources for public domain (an purchasable scans) of true wood grain images. (I use my own sources, ex-hobby wood worker and ex-member of a local craft wood work club, till a serious power saw accident)

if there are any in your area try contacting them, I have found many helpful.

I also have several second hand and scrap dealers I visit occasionally that are a great source of such. (one dealer in Brisbane, is selling up the "sample stock" of a company that sold imitation wood counter top maker, that are so realistic they look genuine, and hundreds of great scanable items for selection at a Few Dollar an item. etc.

o and if you do need up with a great Fram o r wood grain, keep it aside in a folder for such, and with photoshop files, it can be re-colored, re dimensioned and ganged for larger files.

regards

Sandy
 
All good suggestions by Nurgle. Here are two more ideas:
  1. Instead of simulating wood grain with noise and a motion blur, you should also experiment with Filter>Render>Fibers, which already start off looking a lot like wood grain. In my old version of Photoshop you can only create vertical fibers, but if you do them on a separate layer, then that layer can be easily rotated 90 degrees.
  2. If you search this PSG website for a user named Eric Matyas, every month or so he publishes a link to free wood textures (as well as many other kinds of textures). You can make a frame from those.
 
Hello.

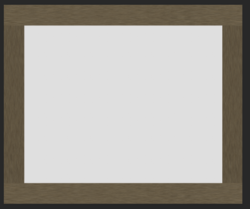
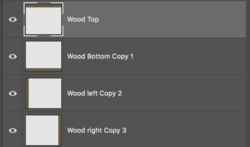
SIMPLE FIX , as long as you are not using smart objects, this works for both horizontal and vertical. Just copy the first "wood border" layer 3 times and re-position.

Screen Shot 2022-04-19 at 11.21.31 AM.png
Screen Shot 2022-04-19 at 12.57.44 PM.png

I think a better technique as Rich mentions above would work better.
 
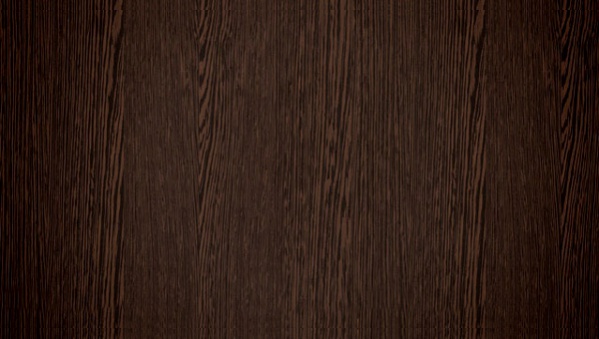
I don't know the extent of your knowledge about PS. But you can also apply a pattern - you can download different wood patterns here:


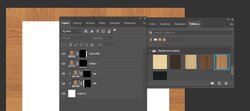
I downloaded the Wood Pattern Backgrounds (6 patterns) and used it to create this frame.
Each layer represents each part of the frame - I did that just to change the direction of the grain and make a fancy angle cut... :cheesygrin:

frame capture.JPG
 
I wrote my reply at 1am with brain fog. I should have also added to "Scan" that Camera images can also be used also when photographed 'square's to the wood...

regards, Sandy
 

Back
Top