What's new
Photoshop Gurus Forum

Welcome to Photoshop Gurus forum. Register a free account today to become a member! It's completely free. Once signed in, you'll enjoy an ad-free experience and be able to participate on this site by adding your own topics and posts, as well as connect with other members through your own private inbox!

Colorize old filmstrip scans


Ovi Sergiu

Member
Messages
12
Likes
4
Hi,
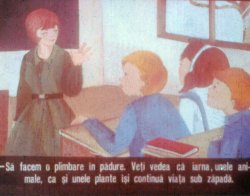
I recently started scanning some educational filmstrips.
The scanned image is kinda foggy and lacks color.

Could someone, please, try and explain if there is something to bring the image to life to look decent?
It would be awesome if you could write me the steps, so I can apply them to the hundreds of scans.

Thank you very much!
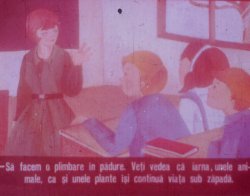
2021-01-13_6.JPG

Mod edit: One image per request please.
 
The easiest approach is to use curves to adjust your dark and light points.
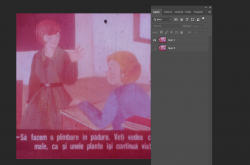
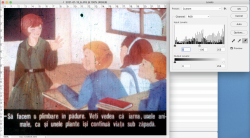
Open your image in PS, then duplicate the layer. I always like to keep a copy of my original to compare to.
So your window should look like this:

1610551945084.png

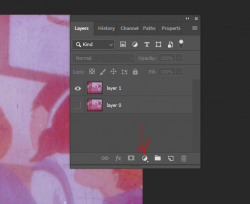
Now open a curves adjustment layer by clicking on the round button at the bottom of the layer stack:

1610552090893.png

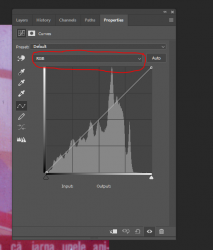
Your curves layer will open in a new tab. You should see this histogram with the RGB channels combined:

1610552242814.png

You'll note that there's a big empty space at the right side of the histogram.
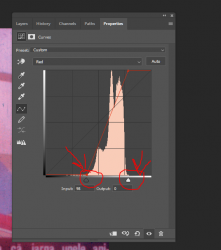
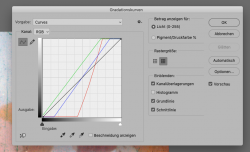
What you're going to do now is by clicking on that RGB drop down menu, working with one channel at at time, you're going to pull those sliders so they touch the starting point of the histogram both on right and left sides.
So for example, before (red channel):

1610552445310.png

And after:

1610552510796.png

You're going to do that on the Red channel, Green channel, and Blue channel.
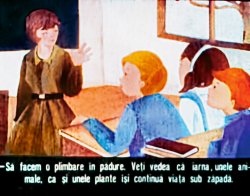
Your image should then look like this:

1610552659518.png

Image is a lot brighter, less faded now.
Then you can go back to the edited image layer and use the spot healing brush to clean up the image.
Here's what I ended up with:

film strip edited 2.jpg

There are several tutorials on YouTube that can help - just search for repairing faded images.

Others most likely will jump in - this at least will give you a start.

- Jeff
 
Here is something that takes mere seconds. Use the eyedroppers in Levels. Highlight far right. (Select a White--Girls Shirt)
Shadow far Left. (Select Black--border on bottom)
Screen Shot 2021-01-13 at 11.07.57 AM.png
 
Here is my try.
In a copied layer of original I made it a Smart Object then
- Two applications of SRDx filter plugin from
- Then just adjustments in an added Camera Raw Filter
- Followed by masking back to the original image for eyes or the characters and also using original wording on bottom of image.
John Wheeler

filmstrip-to-improve-adj.jpg
 

Back
Top