What's new
Photoshop Gurus Forum

Welcome to Photoshop Gurus forum. Register a free account today to become a member! It's completely free. Once signed in, you'll enjoy an ad-free experience and be able to participate on this site by adding your own topics and posts, as well as connect with other members through your own private inbox!

Clean up a wall


mclicks27

New Member
Messages
3
Likes
1
May I know the steps you followed to edit the wall? I have a bunch of photos that I need to fix.

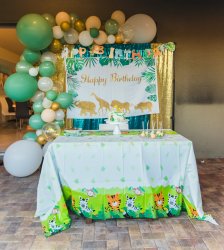
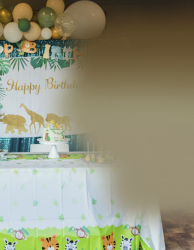
From this:
DSC_0921.jpg

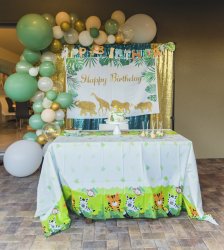
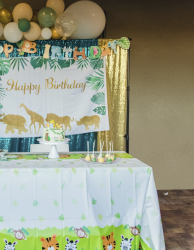
To this:
Fix Wall.jpg
 
This looks great! May I know the steps you followed to edit the wall? I have a bunch of photos that I need to fix.
Thanks. I made a selection of the center (subject?) and inverted the selection so that walls and floor were in the saved alpha channel (selection.) With this same selection active, I used Average Blur to correct the casted BG then added a new layer above, filled it with the wall colour and added a black-to-transparent gradient to darken the upper wall and ceiling. Other colour enhancements/saturation were made with ACR and select curves on duplicates and added with a mask. I used the clone tool to fill in any missed areas and added sharping.
Hope this helps.
 
Thanks! This looks great! May I know the steps you followed to edit the wall? I have a bunch of photos that I need to fix.

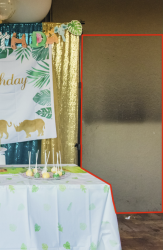
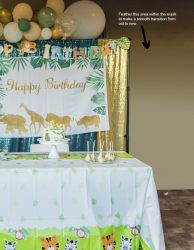
I started by making a precise selection of the new wall (outlined in red) using the Pen tool.

1642962800772.png


From here, one option would be to create a gradient (transitioning from the dark golden color at the top of my Pen selection to the tan-ish color at the bottom of the wall). But sometimes gradients are too "perfect" and end up looking fake, so instead I opted for this method:
  • Using a large, soft brush on a new layer, I sampled several of the color gradations of the wall and painted broad horizontal swaths of color.
  • Make sure to have a healthy overlap into the birthday banner, table and floor because we'll be applying a large blur shortly.
  • When I got down to the soot area I needed to guess at what color the wall should be.
1642963244310.png


  • Now I gave this layer a very healthy blur, like 50 or 60 pixels.
  • Sometimes when you blur this much you can start to see the underlying image. If that happens, then duplicate your blurred layer to build up its opacity, then merge all the blurred layers down to one layer.
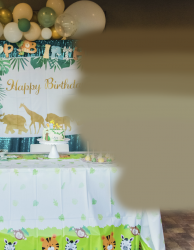
  • I now have something like this:
1642963653361.png


Activate a selection using the Pen path you created earlier and apply a layer mask.
The Pen tool is often too precise and the edges too crisp, so I usually feather my pen tool selections by one or two pixels, depending on the size of the image. This gives a more natural look.

1642964030120.png


The next step is to apply some wall texture.
  • On a new layer, fill the new area of wall with 50% Gray and change the layer blend mode to Overlay.
  • Apply Gaussian Noise (monochrome; around 10% strength). Blur it about 0.5 pixels and then reduce the layer opacity until the texture looks like the existing wall.
  • As an option, you can repeat this step at random places on the wall, using different strengths of noise and blur, to introduce some variation in the overall texture.
  • Something like this:
1642965007669.png


  • Create a Levels adjustment that slightly darkens the image. Then fill the mask of the Levels adjustment entirely with black.
  • Now paint with white in the mask to selectively add some subtle shadows and shading gradations to the new wall, maybe down near the floor. The whole idea is that your new wall should not be uniformly perfect or evenly lit, to avoid it looking fake.
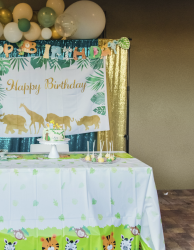
1642965624496.png


Good luck with your edits.
 

Back
Top