Always make a duplicate of your background layer. I did not do it in this instance, please ignore my oversight.
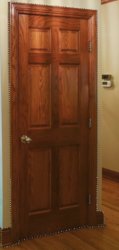
1) Select the area you want to change colour to White. Selection has to be proper. Make sure you know several ways of selecting your target area. There are different methods and each method has its advantages and disadvantages which have to be judiciously used depending on application. Here, I chose the following door.
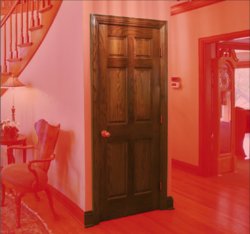
I am also showing how I used Quick Mask tool for deselecting the knob and hinges from the door area:
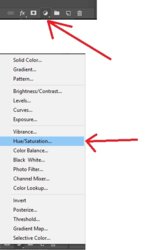
2) Add a Hue/Saturation Layer from the icons you see underneath the layers list. Look for the Circle with half filled white (Called Fill/Adjustment Layer list) as shown, then select Hue Saturation from the list:
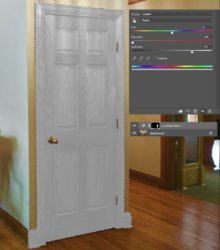
In the resulting options window, reduce the Saturation fully. Then increase Lightness. This is a delicate step like a surgeon operating a Mafia Don while he is armed and not sedated.

If you give it too much lightness, it will look faded out. If you do not give enough, it will still have that desaturated look. I chose 51 in this instance as shown:
3) You will observe that the selection has disappeared on the door because the selection applied itself as a mask to the Hue/Saturation adjustment layer. We need to get the selection back. To do that, hold CTRL pressed and click on the mask for Hue/Saturation Adjustment layer, as shown:

4) Now that we got our selection back on the target object, from Fill/Adjustment Layer list again, select Brightness/Contrast Layer. Aim is to get the selection a little more white. Too much Brightness or contrast value burns the dark spots in the image. So, use them moderately. You can see the numbers I selected in this instance:
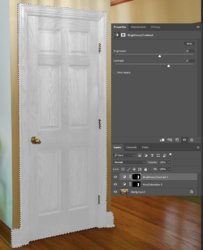
and here is my result:
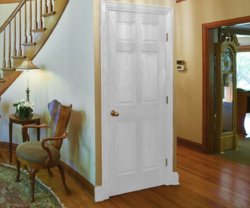
Issues with this method are as you see, the lower part of the door lost its darker areas. Positive points of this method are you retain the texture. Time consuming step in this job is making careful selections.
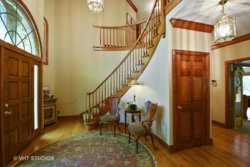
Whoever did the whitening job for you has really done a very good work. Perhaps you could ask the person and narrate to us what method was used?



 If you give it too much lightness, it will look faded out. If you do not give enough, it will still have that desaturated look. I chose 51 in this instance as shown:


