What's new
Photoshop Gurus Forum

Welcome to Photoshop Gurus forum. Register a free account today to become a member! It's completely free. Once signed in, you'll enjoy an ad-free experience and be able to participate on this site by adding your own topics and posts, as well as connect with other members through your own private inbox!

Photo Edit Before and After Ratings?Feedback?


Adhooms595

New Member
Messages
4
Likes
3
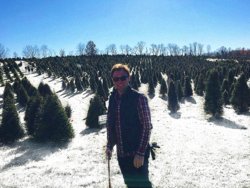
Before: Y2BViYT.jpg

After:
VsSlqb9.jpg

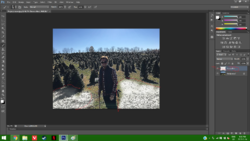
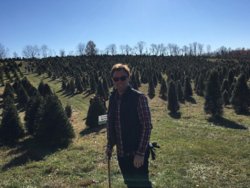
In order to create the second Image I selected used the color range and selected the lightest color of grass on the image and made the fuzziness 200, then I made a new layer and added the selection onto it and with a soft paint brush with 100% opacity and 44% flow I colored with white on the new layer the grass. In order to keep the subject from getting any snow on him I selected the layer mask and colored in black where needed. After that I set the width of the image to 3000 pixels and then set my resolution to 268. After that I added a few effects onto the image after merging everything onto the background I used the Saturation, sharpen effects/tools for example. Then I messed with the brightness and contrast and made it a little brighter.
 
Last edited:
Hi and welcome to PSG

Would really like if you could share how you went about creating the before and after, this may help other members

Regards
Ged
 
Here is a very detailed instruction because I am very experienced but was in a rush since I had some work to do:
1.First thing is open your Photoshop application and open your image you want to use to add the snow effect or snow in the background
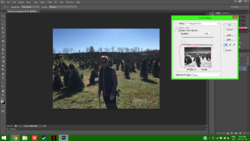
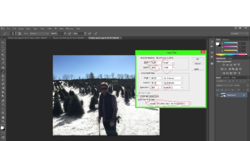
2.After your image is on photoshop go to your menu bar then go to select and then go to Color Range
3. using your eyedropper that appears select the light green color from the grass from the are shown on the photo and make sure your fuzziness is set to 200 and make sure the preview looks like this: Light green.png
4.After pressing ok your selection should look like this:
Step 4.png
5.Now go to layer, new and then layer and press ok and your pallet should look like thisStep 6.png
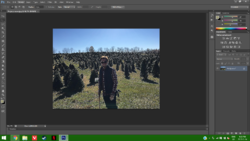
6.While you are on your new layer make sure you are painting with white and then choose a soft brush and then set the opacity of the brush to 100% and the flow at 44%step 61.png
7.Then paint the grass and the shadow of the trees using white the brush and make sure to zoom in to the small areas and make your brush pixel size smaller when doing that and it should start to look like this : step 7.png
8.After painting your image wherever you need with the white brush on the snow layer, merge the background and snow effect layer together
10. then set the resolution to 268 and then deselect constrain proportion and then play around with the width and height to your desired size but for me I chose 5120x3840 pixels and make sure at the bottom of the image size tab the drop down is set to bicubic smoother. Its should look like thisstep 9.png
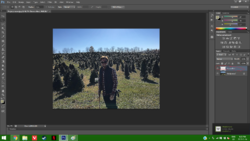
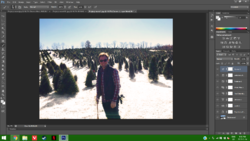
10.Press ok and then on the right side of your screen you should see adjustments now I made many like brightness contrast which I Increased both, I also used the levels adjustment and moved the middle point under the graph to about 1.17ish. I then went to the vibrance adjustment and then increased the vibrance to 67ish and saturation to 32ish. Then i set the photo filter adjustment to warming filter at filter and then I set the density to about 38ish. After that I went to the posterize adjusment and set the levels to about 211ish. Then I went to the curves adjustment and moved the line a tiny bit up.(I am not sure about the numbers i set for adjusments filters and wont be the same as the after photo I added in my first post above because I already merged all the layers to save as jpg) This is close to how its supposed to look:
step 10.png
11. Then merge all the layers (make sure you save the photo as psd before doing this step so you dont end up like me)
13.then from the menu bar go to filters, then noise and then reduce noise and set the strength to 8 and preserve details to 0, then set reduce color noise to 80 and set sharpen details to 0 and press ok
14.then go to filters, sharpen, u sharpen mask. Set amount to 70 and set radius to 30 and threshold to 40 and press ok
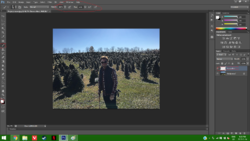
15. After making sure there is only one layer go to file, save and select jpg or jpeg and then save it to your desired location and it should look like this after saving
VsSlqb9.jpg
 

Back
Top