Inkz
Guru
- Messages
- 2,141
- Likes
- 1,437
So I thought I would knock up A quick tutorial on how to Pentool A logo.
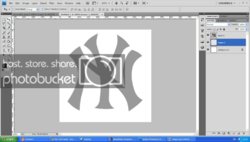
Here is what we will be making.

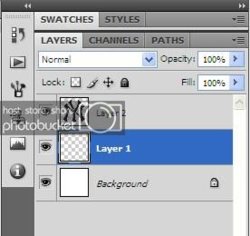
So lets start and open PS. Open the render, select and copy. Then paste in a new 500x500 pixel document. You will need 3 layers. Background, middle layer and the copy of the logo on top. Lower the top layer to opacity 40.


Now select the middle layer and make sure your brush is at 3 pix and the Pen tool settings are like this below.

Now with the Pentool ready. Click on corner of the image, then the other. This will create a line.

Now click on the centre of the line. Then you will see another dot in the middle of the line.

Hold down Ctrl & left mouse button and drag until the line meets up.

Now do the whole image as above.

When done. Right click, select fill path, click ok. Right click again then delete path.

Here is the render for you to use.

Here is what we will be making.

So lets start and open PS. Open the render, select and copy. Then paste in a new 500x500 pixel document. You will need 3 layers. Background, middle layer and the copy of the logo on top. Lower the top layer to opacity 40.


Now select the middle layer and make sure your brush is at 3 pix and the Pen tool settings are like this below.
Now with the Pentool ready. Click on corner of the image, then the other. This will create a line.

Now click on the centre of the line. Then you will see another dot in the middle of the line.

Hold down Ctrl & left mouse button and drag until the line meets up.

Now do the whole image as above.

When done. Right click, select fill path, click ok. Right click again then delete path.

Here is the render for you to use.


 :cool2: