What's new
Photoshop Gurus Forum

Welcome to Photoshop Gurus forum. Register a free account today to become a member! It's completely free. Once signed in, you'll enjoy an ad-free experience and be able to participate on this site by adding your own topics and posts, as well as connect with other members through your own private inbox!

Adding rust effects to a car.


Jdris6

New Member
Messages
3
Likes
0
Hi all, relatively new to photoshop. Need to add realistic rust to a car for a vinyl wrap that I’m working on. What is the best way to achieve this? I have high quality rust texture images, just need to know how to utilise them.

Cheers in advance
 
Hello and welcome.

Just letting you know that I'm looking into the best way to accomplish this effect. Will get back to you asap.

Is the rust supposed to cover the entire car or just a section?
 
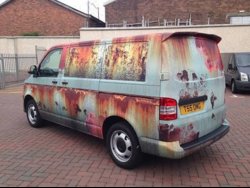
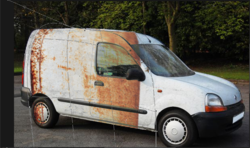
More to make it look weathered, so corners of the doors and maybe running down certain areas. Notice in the picture I’ve attatched, the designer has made the rust suit the contour of the car.

Thanks for your help1BDC757B-08D0-4970-AB57-0BF0A5D591B5.jpeg
 
So first, what i'd do is,

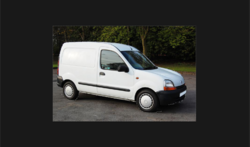
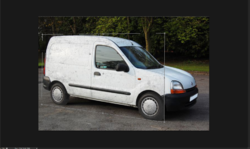
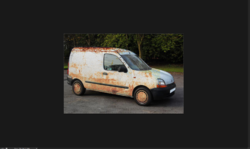
  • Make a selection of the vehicle and Copy the selection onto a new layer (Ctrl+J)
1.PNG

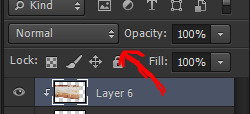
  • Then introduce your Rust/Dirt texture images and place them over your Car Cut-out.. Create a Clipping Mask between your Texture Layers and the Cut-out of your car. Do this by Right Clicking on your Texture Layer and selecting the "Create Clipping Mask" option. Alternatively, you can Press down your Alt Key and Click on the line dividing the two layers.

If your Texture Layers are in the PNG format, that's great. You already have a transparent background. So all you have to do now is Transform the layer to match the perspective of the car.​

  • Select the Layer and press (Ctrl+T) to Free Transform. To change the angle and change the perspective, hold your Ctrl Key and click and drag the corners of the Free Transform Grid.
2.PNG

Move it around to cover the areas that you want it to cover and hit Enter. You can Erase the texture off from the areas that you don't want it to cover later on.​

  • But now, if your texture files are in the JPG Format, they're going to have a solid background, and it will look like this,
3.PNG

  • In that case, to get the background off, you're going to have to use Layer Blending Modes. Blending modes are found here.
4.PNG

  • Now, since our Rust Layer has a White background and the Rust is darker than the white background, we will have to use a blending mode that affects the white (lighter) background while leaving the rust (darker) as it is. The Blending Options that I would use is "Darken" - Darken affects the light parts, leaving the Dark parts unaffected. Opposite to this is the "Lighten" blending mode; it leaves affects the Dark parts, leaving the Light parts unaffected.

5.PNG

You can choose between Darken, Multiply, Color Burn, Linear Burn and Darker Color; they all come under one category.​

  • Lastly, if you want the rust to go along the contour of the car, I'd use the Warp Tool. To use to Warp tool, Select your layer, Ctrl+T, Right click on the Transform Grid and select Warp.

6.PNG

And you can repeat the same steps for the other layers as well.

With better quality images, more precision and trying out different methods, you could get the perfect results. Hope this helped you.
 
If you want a variety of rusty stains to apply you can visite https://www.textures.com/browse/rust-spots/57937
(You need to register but it's free with a maximum of 15 pics a day or search for png's on the net)
All rusty stains are on an alpha channel as PNG.
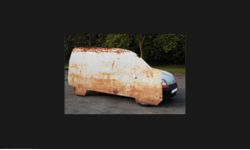
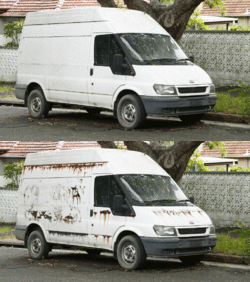
You can pick the stains you need and apply them on the car while using free transform. No need to apply a blend mode.

But this is one possibility...

rusty-van.gif
 

Back
Top