Hi there,
I've just discovered this place ! It looks pretty awesome!
Now that's not an easy one for my first case...
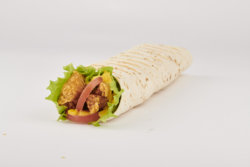
A bit of context first. I have to cut this wrap out for a restaurant menu. As you can see from the image, the depth of field does not cover the entire wrap. Then it doesn't make sense to have a razor sharp selection for the back of the wrap.
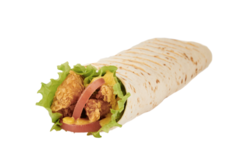
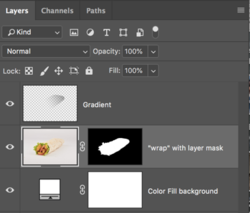
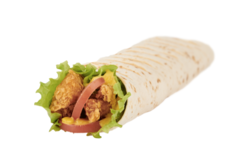
The way I usually fix it by making a clean cutout first. I turn it into a selection, make a new layer, fill my selection with white. Then I apply a field blur from the back to the front. Then Cmd+Clic on my layer to get the selection, hit Q to get my quick mask, then go to the channels and dupplicate my mask so that it would stay in my channels. I finally go back to my base layer, the one that actually has the wrap on it, then Cmd+Clic on the channel I created to get my new, feathered selection and hit the layer mask button to get my final cut out that follows the sharpness fall-off.
However I'm wondering if there wouldn't be a better way of doing it.
I made an action out of it so it really isn't that bad but I wanted to see if you guys had a better way to deal with this issue.
Have a great night
Thanks


