Photoshop Tutorials
Photoshop Tutorials for Beginners
Enhance facial makeup by removing blemishes and adding a hint of custom makeup
Many a times you take a perfect shot in terms of camera angles and lights etc but you still would like to enhance an image or some parts of the image to get that perfect outcome. In this tutorial we'll work on the image below. We'll remove marks on face and enhance the make up too.
Enhance facial makeup by removing blemishes and adding a hint of custom makeup |
Many a times you take a perfect shot in terms of camera angles and lights etc but you still would like to enhance an image or some parts of the image to get that perfect outcome. In this tutorial we'll work on the image below. We'll remove marks on face and enhance the make up too. |
| Step-1 | Step-2 | Step-3 |
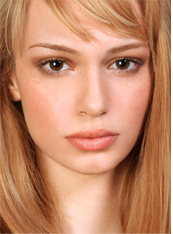 |
 |
 |
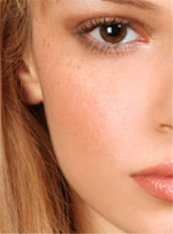
| Zoom the image to see the problem areas. | Select
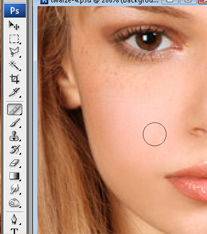
"healing" tool. Press and hold alt key. Click over the fine area of the skin. |
Start cloning the rough areas by clicking on marks as shown in the image below. |
| Step-4 | Step-5 | Step-6 |
 |
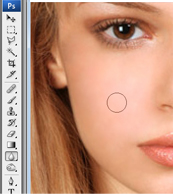 |
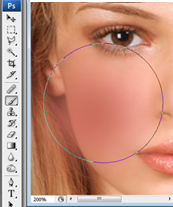 |
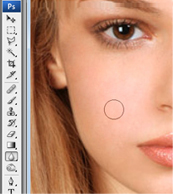
| Now select blur tool. | Apply it over the cheek areas to smoothen out the skin. |
Now select eraser tool and erase the areas out of the cheek. |
| Step-7 | Step-8 | Step-9 |
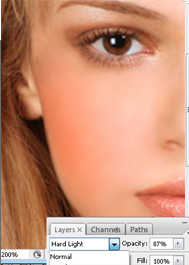 |
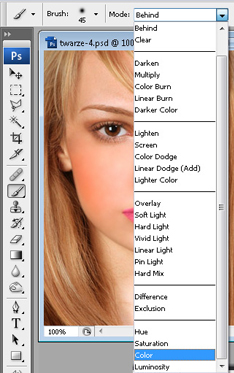 |
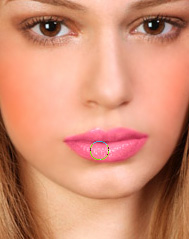 |
| Change the layer mode to "Hard Light" and opacity to "87%. this will create a nice rouge on cheeks. | Select
brush tool with the color and layer mode shown in the image below. |
Apply it over the lips to make it more pink. |
| Step-10 | Step-11 | Step-12 |
 |
 |
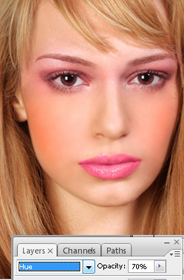 |
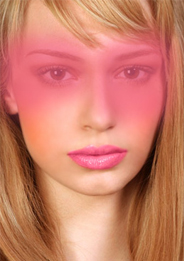
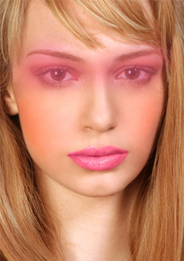
| Select
brush tool in normal layer mode settings. Create a new layer and apply over the eyes area. |
Eraser the unwanted areas. | Change the layer mode to "hue" and opacity to 70%.. |
 |
 |
 |
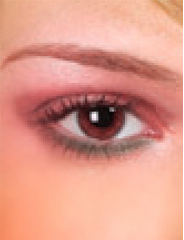
| Create
a shape for eye liner and shown using pen tool. |
From filter menu select "blur>>gaussian blur. You'll get a warning for rasterising layer. Press Ok. |
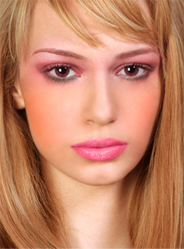
Similarly apply on the other eye too. |
 |
||
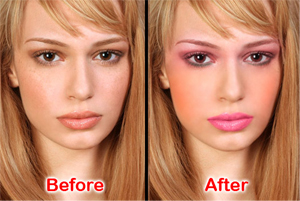
| Here's
the remarkable difference you have create by just applying some simple steps. |


