What's new
Photoshop Gurus Forum

Welcome to Photoshop Gurus forum. Register a free account today to become a member! It's completely free. Once signed in, you'll enjoy an ad-free experience and be able to participate on this site by adding your own topics and posts, as well as connect with other members through your own private inbox!

Remove text in a scanned card


Johnny15

Member
Messages
8
Likes
2
I'm starting to use Photoshop, and I would like to scan some cards, then remove the text on the cards without removing the background and type new translated text.
The steps I followed:
  1. I opened the scanned document,
  2. then I created a new canvas with the same size.
  3. Next, I created a rectangle and copied the selected card to the new canvas.
  4. Then I used Ctrl + T to move the new card to the edge so I could make copies of it.
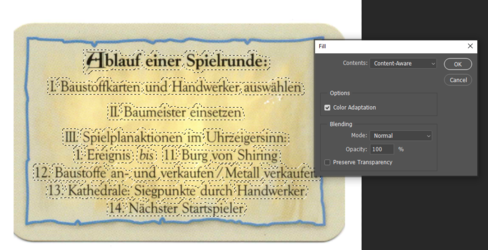
  5. After that, I selected the part of the text I wanted to remove and pressed Shift + F5, clicked Content-Aware, and clicked OK.
The result is shown in the attached picture. Sometimes it gets deleted smoothly, other times after Shift + F5, random letters appear.
What am I doing wrong? I tried selecting the entire card and managed to delete the content, but it ended up looking nothing like the original.
Any help would be greatly apreciated.
The whole idea is scanning cards, and then printing them back translated.
Thanks in advance
Giannis
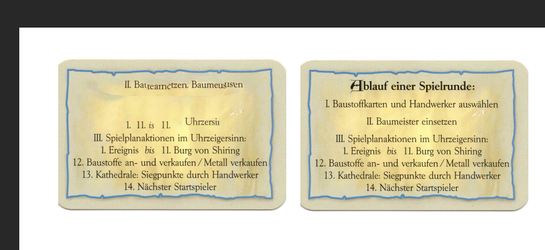
photoshop.png
 
The "intelligence" in AI can be misleading. Unless there is a fairly large amount of area surrounding the element you want to "fill", it will pick up lots of different artifacts. Including parts of what you're trying to eliminate. Same problem occurs with the Remove tool.

Here's what I tried - and as in all things Photoshop, multiple ways to accomplish it:

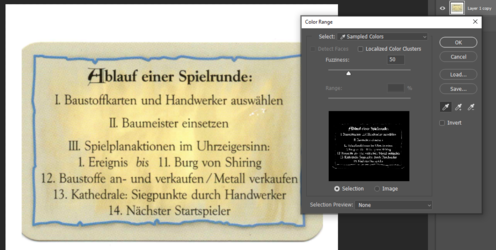
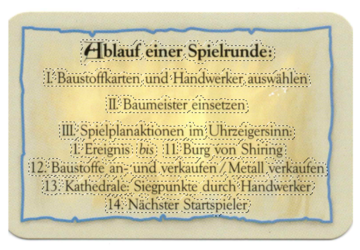
Open your image, go to the top menu, then Select>Color Range. Use the eyedropper tool and use it on the type in the image: Adjust the Fuzziness slider to make sure the background isn't part of the selection:

1712320841067.png

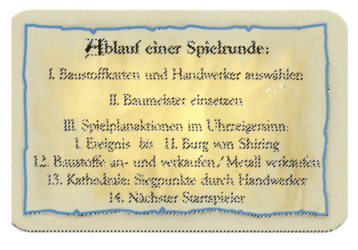
Click OK and you'll see marching ants around the type and possibly some stray areas:

1712320983451.png
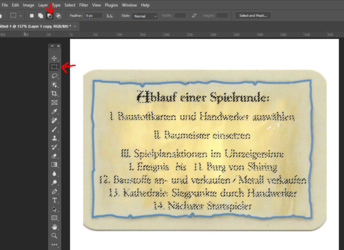
Use your rectangular marquee tool to get rid of the stray bits: make sure the subtraction method is chosen:

1712321155049.png

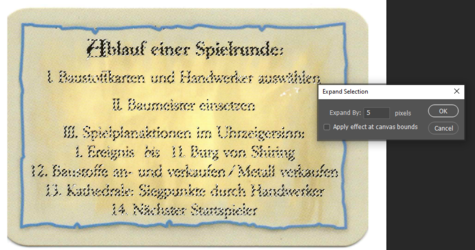
Now go to the top menu and Select>Modify>Expand and put in about 5 pixels to enlarge the selected area. Click OK and now you'll see the selection
has increased:

1712321424817.png


If there are any areas selected that you want unselected, just use your rectangular Marquee tool, for instance, with subtraction chosen to remove.

Now go to Edit>Fill and choose Content Aware Fill:

1712322345499.png1712322070604.png

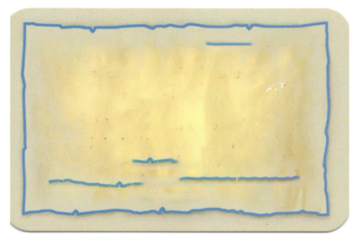
Click OK and the result:

1712322395119.png
Now you can use the Remove Tool, Content Aware, or Healing Brush to remove the stray bits:'

1712321791566.png

Others may jump in with other methods...
 
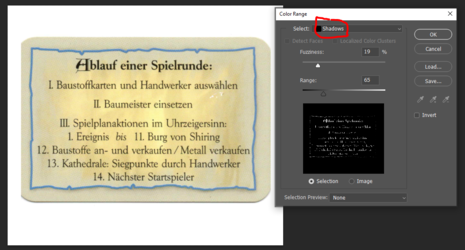
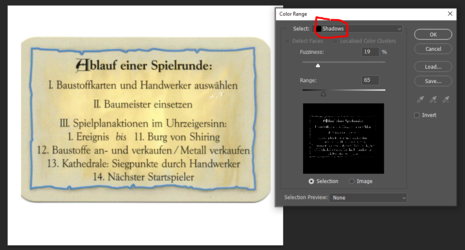
You an also use Select>Color Range and choose Shadows:

1712323015959.png

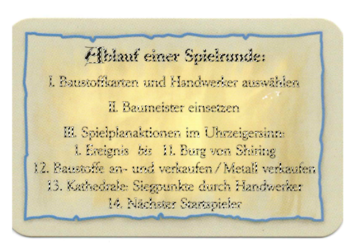
Click OK and result:

1712323160253.png
The follow the rest of the steps, ie Expand Selection, Content Aware Fill, and cleanup. :)

1712323120236.png
 
I notice that your scan seems to cut the card off and this may be a problem for printing.

Screen Shot 2024-04-05 at 8.37.32 AM.png

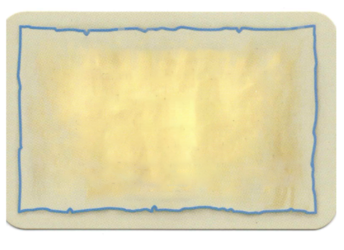
It can be a chore to edit each individual card. Provided the cards are all the same. My suggestion is that you get one card scanned correctly, remove it's written content, save it as a starting point for all of the rest of the cards.

The alternative would be to create your own card template to be used as a starting point for all the cards.
This is just a quick example.
Screen Shot 2024-04-05 at 8.58.14 AM.png
 
Wow I didn't notice the cut off in my card, thanks for noticing!
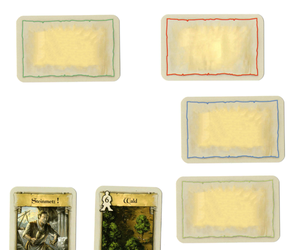
I will probably keep one card as template and I have to change the color of the lines around the edge. I think it's red,blue,yellow and another color I cannot remember!
Thanks a lot both of you!
Great examples <3
 
Thanks a lot! I even managed to change the color and make multiple copies!
I had to play with the hue and saturation option and click exactly at the colored line because the object selection tool couldn't select that thin colored line.

2024-04-05 22_29_21-pillars aid plus 4 edited.psd @ 33.3% (Kokkino, RGB_8).png
 
Thanks a lot! I even managed to change the color and make multiple copies!
I had to play with the hue and saturation option and click exactly at the colored line because the object selection tool couldn't select that thin colored line.
Always cool to learn new tools...:)
 

Back
Top